
I made a terrible mistake on my first shower pan project. Wrong mortar choice. The whole thing failed within six months.
You’re probably wondering which mortar works for shower pans. I get it. There are so many options at the store. Some work great. Others cause expensive problems.
I’ve installed shower pans for fifteen years now. I’ve also fixed plenty of failed ones. The mortar you choose makes or breaks your entire project.
This guide covers the seven mortar types that actually work. You’ll learn mixing ratios, installation steps, and mistakes that ruin projects.
By the end, you’ll know exactly which mortar to buy and how to use it. No guesswork needed.
Understanding Shower Pans
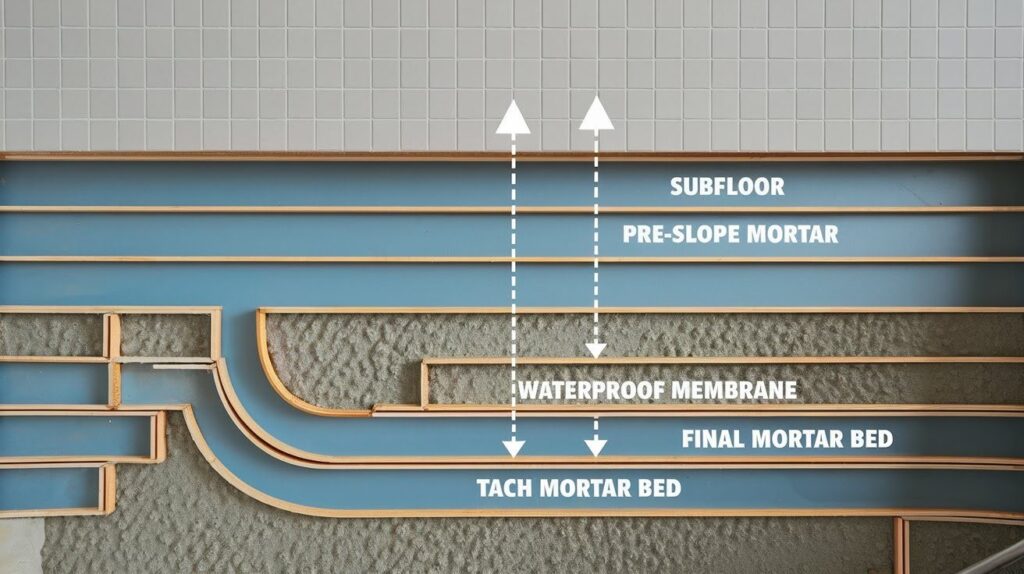
Your shower pan is like an invisible shield under your shower floor.
It keeps water from seeping through and destroying everything below. Without it, you’re looking at rotted subfloors, damaged joists, and costly repairs.
First, they need to be completely waterproof. Second, they must slope toward the drain properly. Third, they have to bond perfectly with your mortar choice.
Regular concrete won’t work here. Standard mortar mix? That’s asking for trouble.
You need mortar designed for wet places. Materials that won’t crack or shrink when they get wet every day.
Once you understand these basics, picking the right mortar becomes much easier.
What Type of Mortar for Shower Pan?
Let me walk through your options. I’ll tell you which ones I actually use and which ones to avoid.
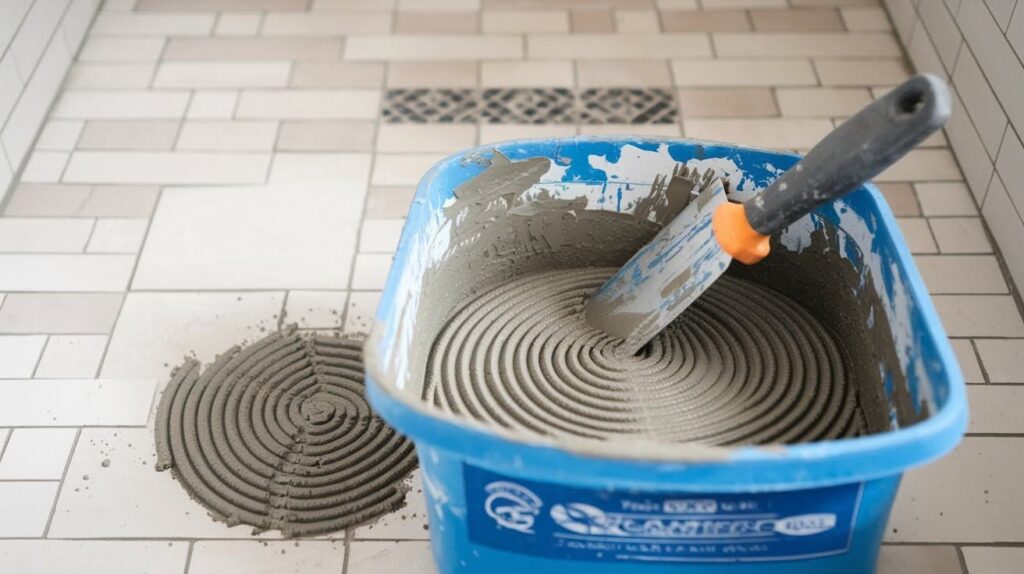
1. Deck Mud (Sand Mix)
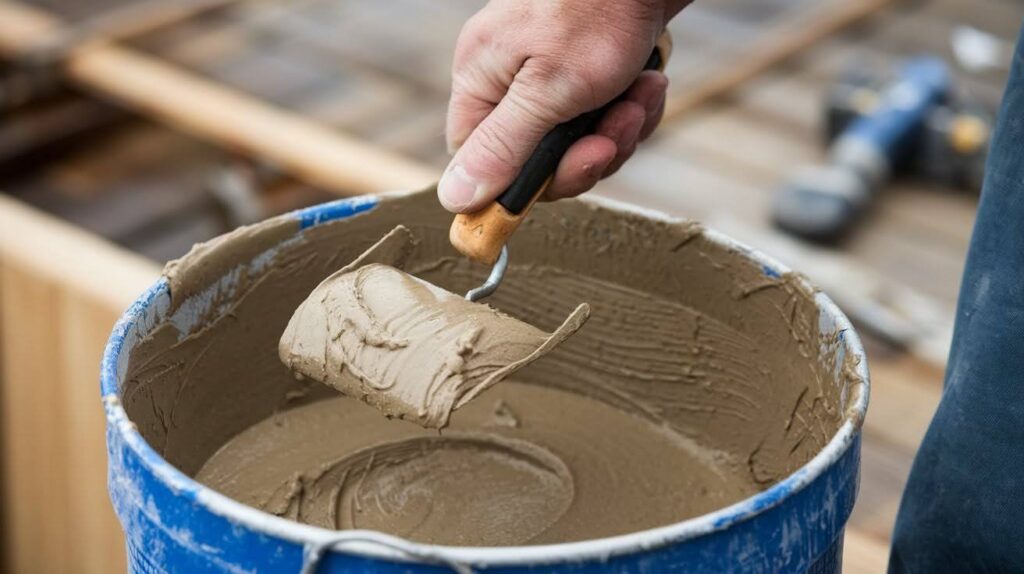
This is what I use on almost every project.
It’s just sand mixed with Portland cement and very little water. Creates a rock-solid base that doesn’t shrink or crack. Easy to work with too.
I can take my time shaping the slopes. Perfect for beginners and pros alike.
2. Modified Thin-Set Mortar
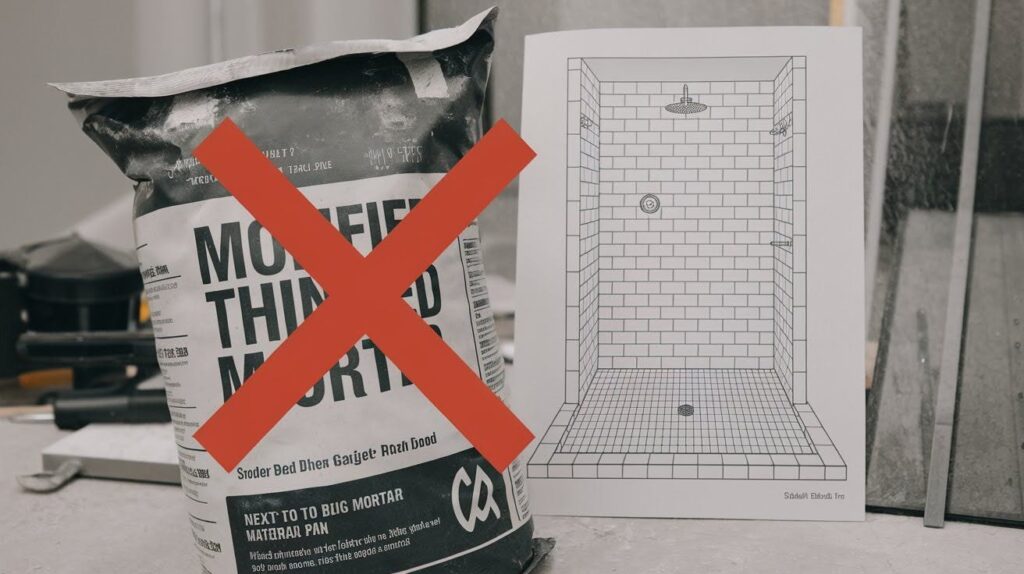
Stay away from this for shower pan work.
The polymers in modified thin-set cause problems when trapped against waterproof membranes. They prevent proper curing and create weak spots.
Save modified thin-set for installing tiles later.
3. Unmodified Thin-Set Mortar
This works better than modified thin-set for shower pans.
No polymers means it cures properly against waterproof surfaces. Still not my first choice though. Not as strong as deck mud.
4. Rapid-Set Mortar
Great when you’re in a hurry. Sets in twenty minutes instead of hours. I use this for quick repairs or when I’m on a tight schedule.
Warning: you have to work fast. Once it starts setting, there’s no going back.
5. Self-Leveling Mortar
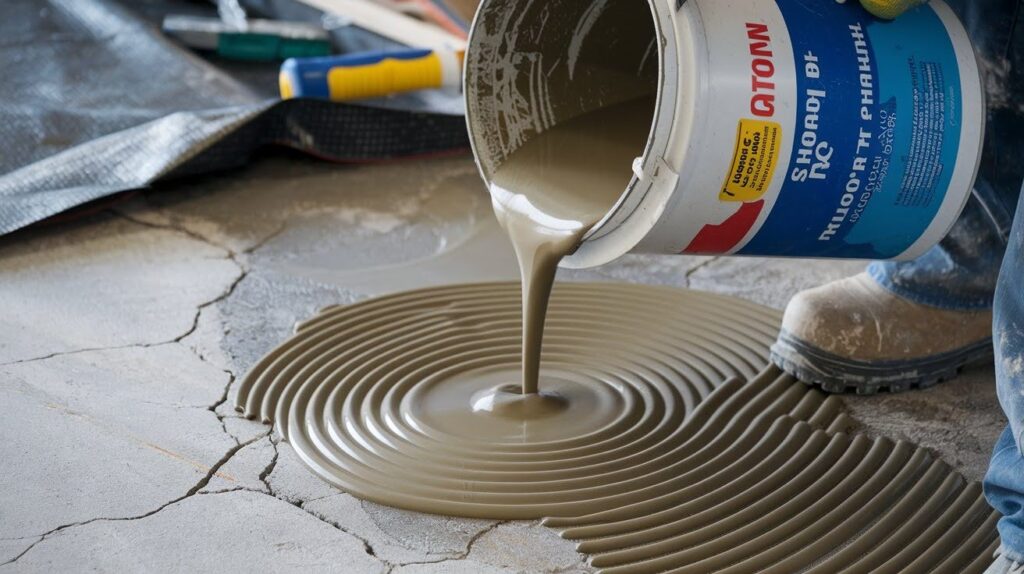
Good for smooth, flat surfaces.
Flows like thick cream and levels itself. Sounds perfect, right? The problem is it’s expensive and hard to control. Not great for creating slopes.
6. Epoxy Mortar
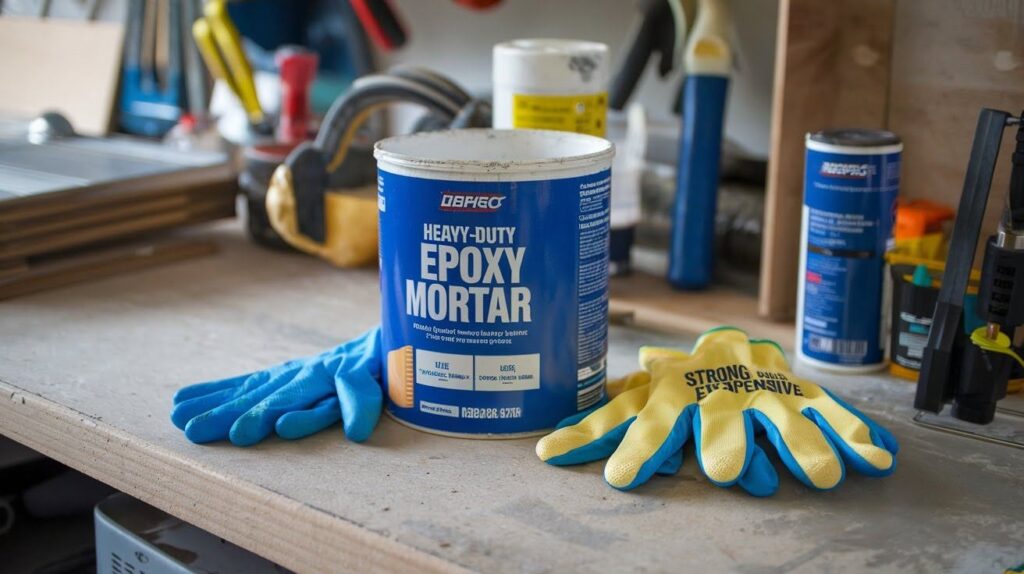
The fancy option. Incredibly strong and completely waterproof. Resists everything you can throw at it.
Reality check: costs a fortune and requires special skills. Overkill for home projects.
7. Pre-Mixed Mortar
Convenient but limited.
Comes ready to use from the container. Fine for small repairs, but I wouldn’t trust it for a whole shower pan. The consistency isn’t right for slope work.
Best Mortar Mix Ratio for Shower Pan
Here’s my recipe that works every time:
Five parts sand to one part Portland cement. That’s it. For water, add just enough to make it hold together when squeezed. Think damp sand, not wet concrete. Use coarse sand, not fine sand. Creates a stronger mix.
My mixing steps:
- Measure sand first
- Add Portland cement
- Mix dry ingredients completely
- Add water slowly while mixing
- Stop when mixture holds its shape
Test it by grabbing a handful and squeezing. Should hold together but crumble when poked. Too wet means shrinkage and cracks later. Too dry means it won’t pack right.
Mix only what you can use in thirty minutes. This stuff doesn’t stay workable forever.
How to Choose the Right Mortar for Your Project
For most shower pans, use deck mud.
It’s forgiving for beginners. You can work at your own pace. Creates great slopes. Won’t shrink when mixed right.
Consider rapid-set mortar for quick repairs only. Think about your skill level. New to this? Stick with deck mud. Gives you room for mistakes and plenty of working time.
Your timeline matters too. Standard deck mud needs two days to cure properly. In a rush? Maybe rapid-set is worth the extra cost.
Budget counts. Deck mud costs less. Pre-mixed options cost more but save mixing time. Hot weather makes mortar sets faster. Cold weather slows it down. Plan accordingly.
Step-by-Step Guide: Installing a Shower Pan with Mortar
I’ll walk you through this process.
What you need:
- Mortar materials
- Mixing bucket
- Trowel and float
- Four-foot level
- Measuring tape
- Water source
Step 1: Prepare Your Base
Clean everything thoroughly. Remove debris, old adhesive, and loose stuff. Check that your subfloor is reasonably flat. Doesn’t need to be perfect.
Install your drain assembly according to the instructions.
Step 2: Mix Your Mortar
Follow that five-to-one ratio I mentioned. Start with a small batch while you get the hang of it.
Mix dry ingredients first for even distribution. Add water slowly. You can add more but can’t take it out.
Step 3: Install the Pre-Slope
This step is crucial. You need to slope toward the drain before installing your waterproof membrane. Aim for one-fourth inch per foot of slope toward the drain.
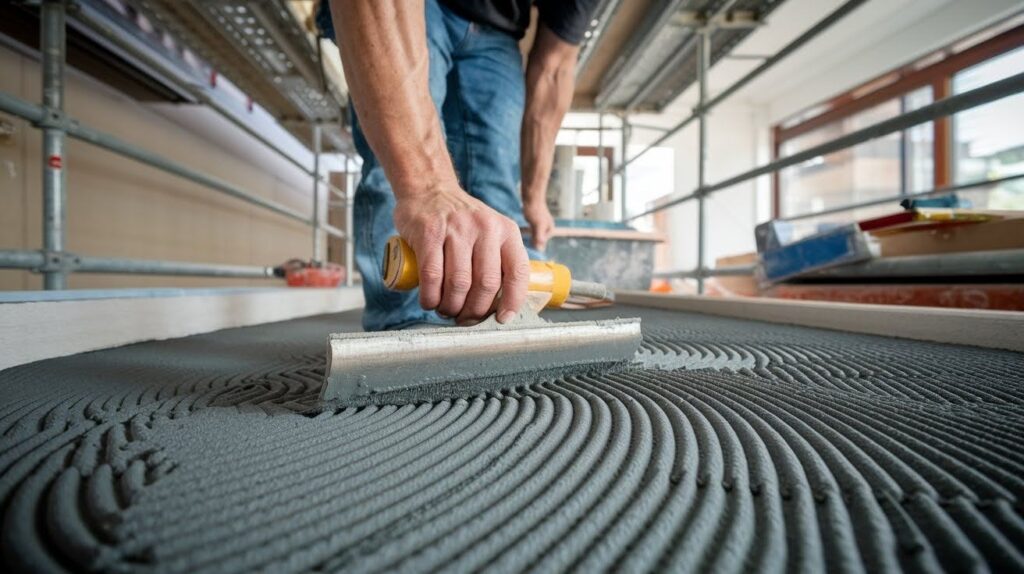
Spread mortar starting from walls and working toward the drain. Use your float to create smooth, even surfaces.
Step 4: Install Waterproof Membrane
Let your pre-slope cure completely first.
Follow membrane instructions exactly. Don’t improvise here.
Step 5: Install Final Mortar Layer
Mix fresh mortar for your final layer. Create a final slope at one-fourth inch per foot toward the drain.
Work from one end to the other systematically. Check slopes frequently with your level.
Step 6: Finish and Cure
Smooth everything with your float one last time. Cover with plastic and let it cure for two days minimum.
Don’t walk on it during curing. Test drainage once cured by pouring water and watching flow.
Common Mistakes to Avoid with Shower Pan Mortar
Let me save you from mistakes I see all the time.
- Using too much water in your mix makes mortar weak and prone to cracking
- Creating slopes less than one-fourth inch per foot causes water pooling problems
- Rushing the cure time before it’s fully set leads to weak, failed installations
- Mixing inconsistent batches creates weak spots and uneven shower pan surfaces
- Skipping the pre-slope step makes proper drainage and membrane support impossible
Conclusion
You now know what type of mortar works for shower pans. Deck mud wins for most projects.
I’ve given you the exact five-to-one mix ratio that works every time. You understand why a modified thin-set causes problems. Most importantly, you know the mistakes that destroy shower pans.
Your next step is simple. Get your materials and start building. Take your time with slopes. Let everything cure properly.
I’ve seen hundreds of shower projects. The ones that last decades all have one thing in common. They used the right mortar and followed proper steps.
Don’t cut corners on your shower pan. It’s the foundation of your entire shower. Get it right the first time.
Ready to start? Grab your Portland cement and coarse sand today. Your future self will thank you.
Frequently Asked Questions
Can I use regular concrete for my shower pan?
No, regular concrete isn’t right for shower pans because it’s not made for wet places. It lacks proper drainage and can crack from moisture, leading to water damage.
How long should I wait before tiling over my shower pan mortar?
Wait at least two days before installing tiles over your cured shower pan mortar. This ensures the mortar has reached full strength and won’t hurt your tile work.
What happens if I use too much water in my mortar mix?
Too much water weakens the mortar and causes too much shrinkage and cracking as it dries. Stick to the damp sand feel for the strongest shower pan base.
Do I really need a pre-slope before installing the waterproof membrane?
Yes, the pre-slope is needed for proper drainage and membrane support. Skipping this step often leads to water pooling and shower pan failure.
Can I walk on my shower pan mortar while it’s curing?
Never walk on uncured mortar as it will create weak spots and uneven surfaces. Keep the area untouched for the full two-day curing period.