
Have you ever stood in front of your home, wondering how to tackle that vinyl siding project without making costly mistakes? You’re not alone.
Vinyl siding has become a favorite among homeowners for good reason: it offers incredible durability, stays within budget, and gives your home that fresh, appealing look you want.
But here’s the thing: one wrong cut can lead to unsightly cracks, annoying chips, or pieces that simply won’t fit together properly.
That’s exactly why I’m here to walk you through the essential tools and proven methods that will help you make clean, precise cuts every single time. Let’s get your project off to a strong start.
Why Proper Cutting of Vinyl Siding Matters
Getting your vinyl siding cuts right makes all the difference in how your project turns out. Clean, straight cuts give your home that professional look that catches the eye and boosts curb appeal.
Properly cut pieces fit together like puzzle pieces, creating seamless joints without visible gaps at corners, windows, and doors.
It keeps water and air from sneaking behind your siding, protecting your home’s structure and underlayment from potential damage.
When you take care to make accurate cuts, you maintain the panel’s strength and help it handle temperature changes without buckling or warping.
Getting it right the first time also saves you money and frustration. Accurate cutting means fewer mistakes, less wasted material, and no costly do-overs.
Your project moves along smoothly, and you can feel confident that your hard work will pay off for years to come.
Essential Tools for Cutting Vinyl Siding
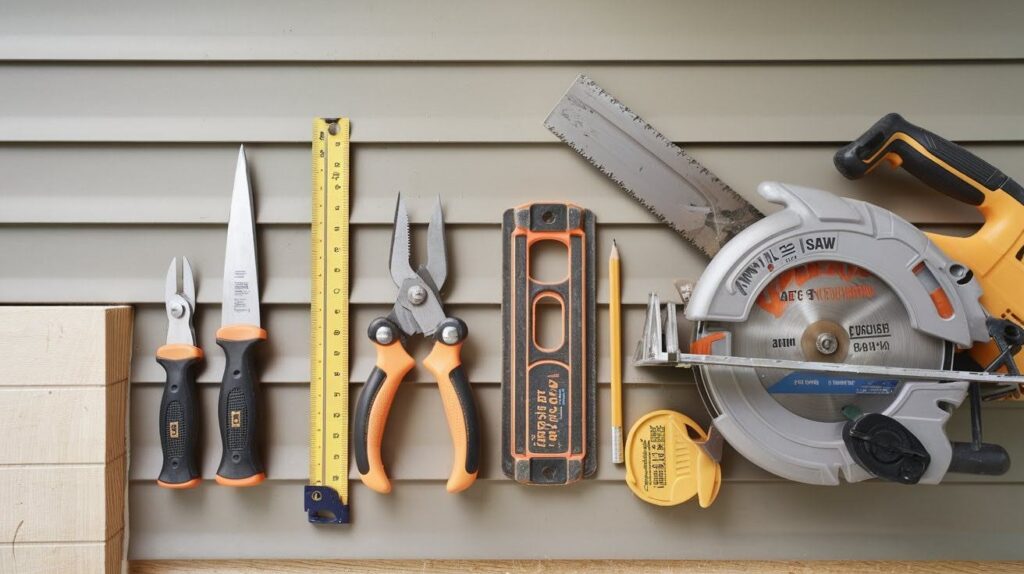
Utility Knife
Your go-to tool for scoring and snapping smaller pieces. Keep extra blades handy because dull ones create messy cuts that look unprofessional.
Tin Snips
Perfect for detailed work and tight corners where precision matters. They give you more control than larger tools when working in small spaces.
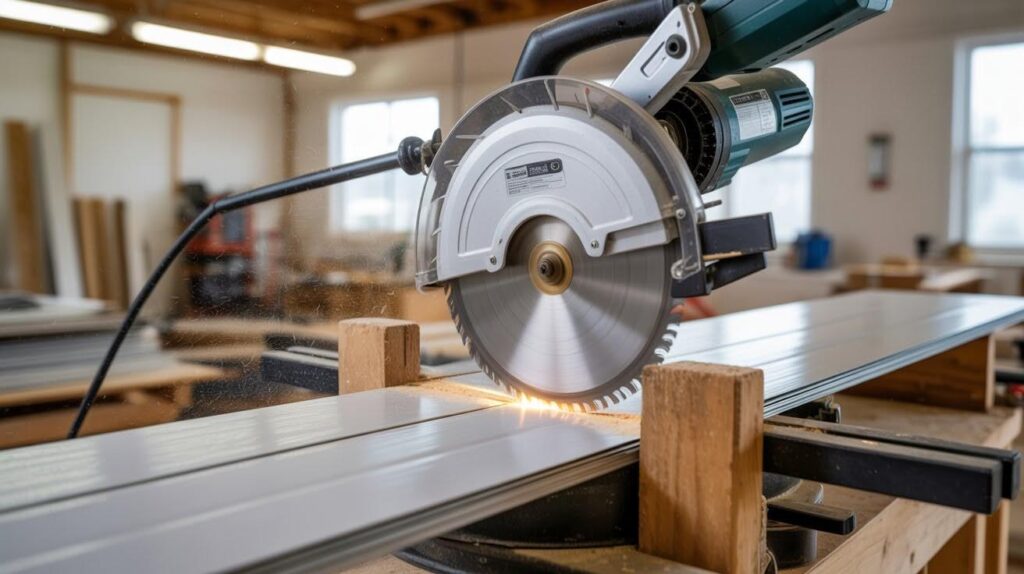
Circular Saw
Changes everything for long, straight cuts. Use a fine-tooth blade and many contractors run it backwards to prevent chipping the vinyl surface.
Miter Saw
Your best choice for angled cuts that need to be perfect. Saves time and gives professional results, especially at corners and trim work.
Vinyl Siding Shears
Cost more upfront, but designed specifically for this job. Think of them as heavy-duty scissors that understand how vinyl behaves when cut.
Measuring Tools
You need a tape measure, a good square, and a pencil for marking. Measure twice, cut once, because vinyl isn’t forgiving with mistakes.
Best Cutting Methods for Vinyl Siding
Now that you have your tools ready, let’s talk about how to actually use them. Each method has its place, and knowing when to use which one will save you time and headaches.
1. Utility Knife (Score and Snap Method)
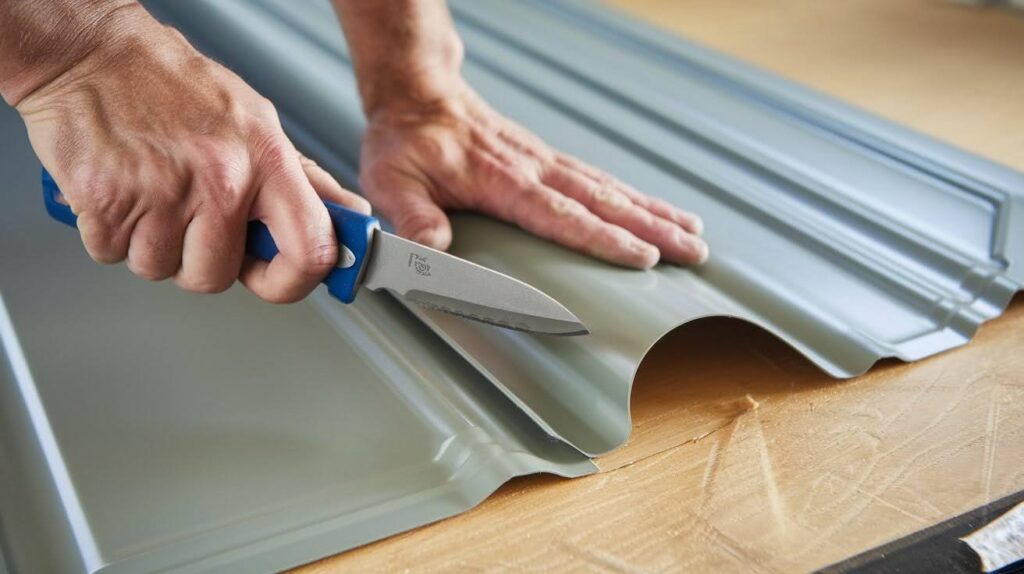
This is the simplest method you’ll learn. Score the vinyl with firm pressure, then bend it back until it snaps cleanly. It’s perfect for straight vertical cuts and quick adjustments on the spot.
The good news? It’s quiet, fast, and doesn’t create any mess. The downside? It only works well on thinner vinyl and straight lines.
2. Tin Snips for Detail Work
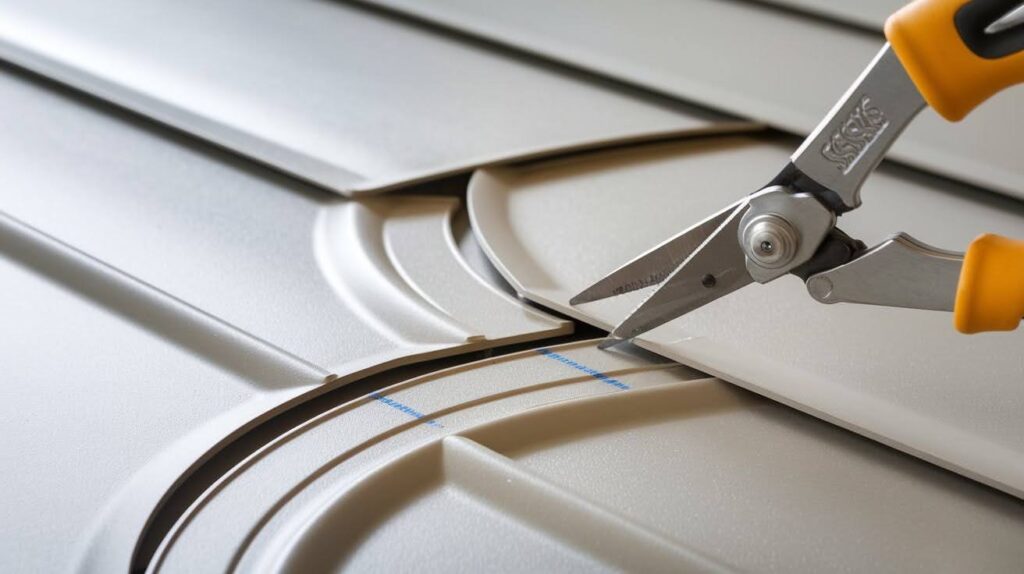
When you need to cut curves or notches around windows and doors, tin snips are your go-to tool. Start your cut from the edge and work slowly toward your marked line.
Here’s a pro tip: don’t try to cut too much material at once. Small bites prevent jagged edges and give you better control.
3. Circular Saw for Long Straight Cuts
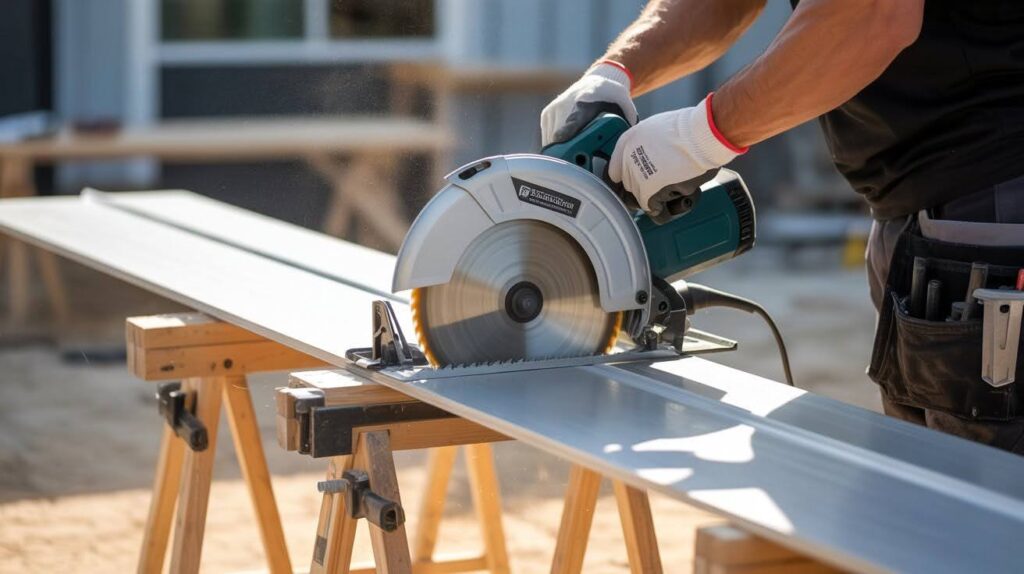
For big projects with lots of panels, nothing beats a circular saw. Use a fine-tooth plywood blade and consider running it backwards to reduce chipping.
Safety first, though. Always wear eye protection and keep your hands away from the blade. Support both sides of your cut to prevent the vinyl from binding.
4. Miter Saw for Angled Cuts
Corner cuts need to be precise, and that’s where your miter saw shines. Set your angle, support the siding properly to prevent bending, and make your cut in one smooth motion.
The key is supporting the vinyl so it doesn’t flex during cutting. A bent piece means an uneven cut, and uneven cuts mean gaps.
5. Vinyl Siding Shears
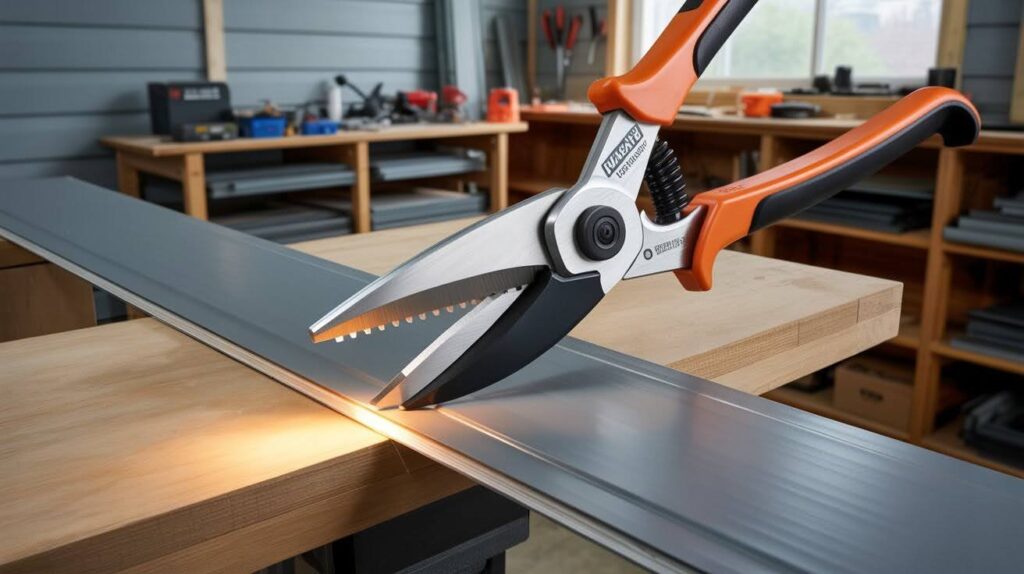
These specialized shears give you clean cuts without any dust or noise. They’re perfect when you’re working indoors or in tight spaces where power tools would be awkward.
The best part? No cleanup required. No sawdust, no debris, just clean cuts every time.
Pro Tips for a Smooth Finish
- Flip It Over: Always cut with the finished side facing down. This prevents scratches and chips on the surface that everyone will see. It’s such a simple step, but so many people forget it and regret it later.
- Keep It Steady: Clamp or secure your siding before making any cuts. Moving vinyl means crooked cuts and wasted material. A few seconds of setup saves you from having to redo the whole piece.
- The Golden Rule: Measure twice, cut once. I know you’ve heard this before, but vinyl siding is expensive and unforgiving. Double-check your measurements before you commit to that cut.
- Weather Matters: Handle vinyl carefully in cold weather because it becomes brittle and cracks easily. If you’re working in winter, let the siding warm up indoors for a few hours first. Your patience will pay off with fewer broken pieces.
Safety Precautions
Protect Yourself
Wear safety goggles, work gloves, and hearing protection when using power tools. Flying vinyl chips can damage your eyes, and power saws are louder than you think. Your future self will thank you for taking these simple steps.
Fresh Air is Key
Work in a well-ventilated space, especially when using power tools. Cutting vinyl can create dust and small particles that you don’t want to breathe in. Open garage doors or work outside when possible.
Sharp Blades Work Better
Keep your blades sharp and clean for safer, easier cuts. Dull blades require more force and are more likely to slip or bind. Replace utility knife blades frequently and clean saw blades after each project.
Steady as You Go
Maintain a stable cutting surface at all times. Wobbly workbenches or unstable sawhorses lead to accidents and poor cuts. Take time to set up properly before you start cutting.
Conclusion
After years of working with vinyl siding, I can tell you that cutting it properly isn’t rocket science. You just need the right approach for your specific situation.
If you’re handling a small repair job around your home, tin snips or a utility knife will serve you well without breaking the bank.
For larger projects or if you’re doing this professionally, investing in a circular saw or miter saw will save you countless hours and give you those crisp, clean cuts that make all the difference. The key is matching your method to your project size and the types of cuts you need to make.
Remember, taking time to set up properly and following these techniques will give you results you’ll be proud to show off. Your home deserves that professional finish.
Frequently Asked Questions
What’s the best tool for cutting vinyl siding as a beginner?
A utility knife with the score-and-snap method is perfect for beginners on small projects. For larger jobs, tin snips give you more control and don’t require any power tools.
Can I use a regular circular saw blade to cut vinyl siding?
You should use a fine-tooth plywood blade instead of a regular blade for cleaner cuts. Many professionals actually run the blade backwards to reduce chipping and get smoother edges.
Why does my vinyl siding crack when I cut it?
Cold weather makes vinyl brittle and prone to cracking during cutting. Bring the siding indoors to warm up for a few hours before cutting, or work during warmer parts of the day.
Should I cut vinyl siding face up or face down?
Always cut with the finished side facing down to protect it from scratches and chips. This simple step keeps the visible surface looking clean and professional.
How do I make curved cuts around windows and doors?
Tin snips are your best option for curved cuts and detailed work around obstacles. Work slowly and make small cuts rather than trying to cut large sections at once for better control.