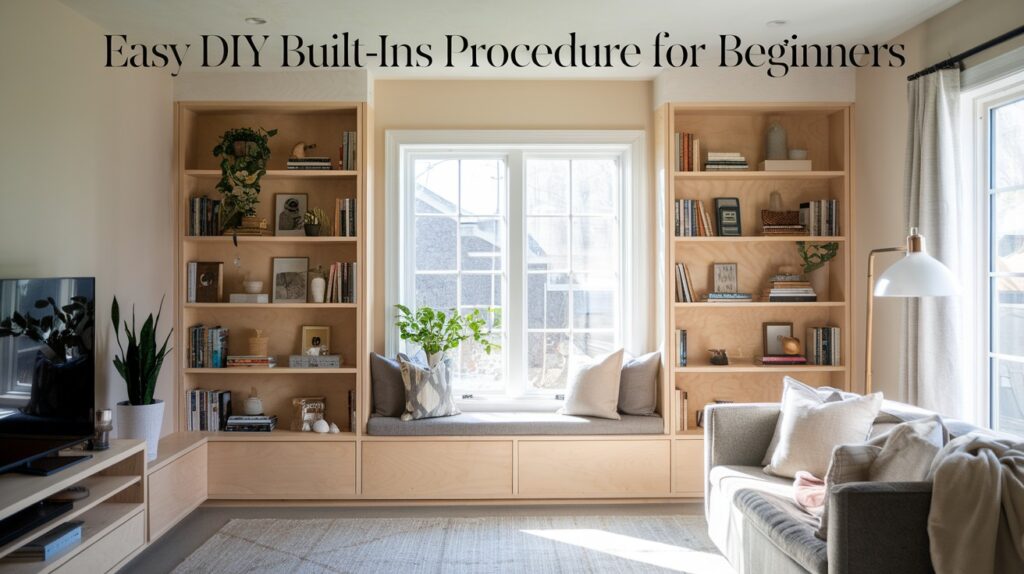
Looking to add custom storage that doesn’t break the bank? You’re in the right place.
I’ve built over 20 built-ins in the past years. From basic bookshelves to complex entertainment centers. Each one saved me thousands compared to hiring a carpenter.
This guide walks you through everything. Planning your project. Choosing materials. Step-by-step building. Finishing like a pro.
You’ll learn the exact process I use. No confusing jargon. No missing steps that leave you stuck.
I’ll show you how to avoid the three biggest mistakes that ruin DIY built-ins. Plus the finishing tricks that make your work look professional.
Ready to change your space? Let’s build something amazing together,Your custom storage solution starts here.
Why I Love DIY Built-Ins
Built-Ins Make Your Room Look Bigger
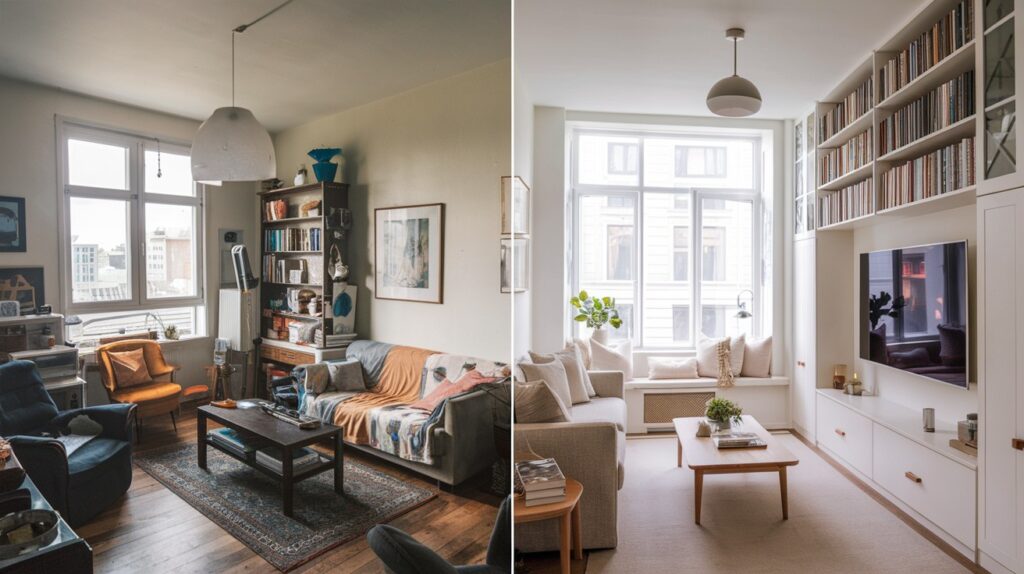
Here’s something cool I found out. Built-ins trick your eye into thinking the room is larger,Why? They eliminate those awkward gaps between furniture and walls.
I remember my first built-in project. My living room felt cramped with a bookshelf, side table, and lamp all fighting for space.
After I built floor-to-ceiling shelving, the room suddenly felt twice as big,You get storage that goes all the way to the ceiling. No wasted space up top collecting dust.
You’ll Save Thousands of Dollars
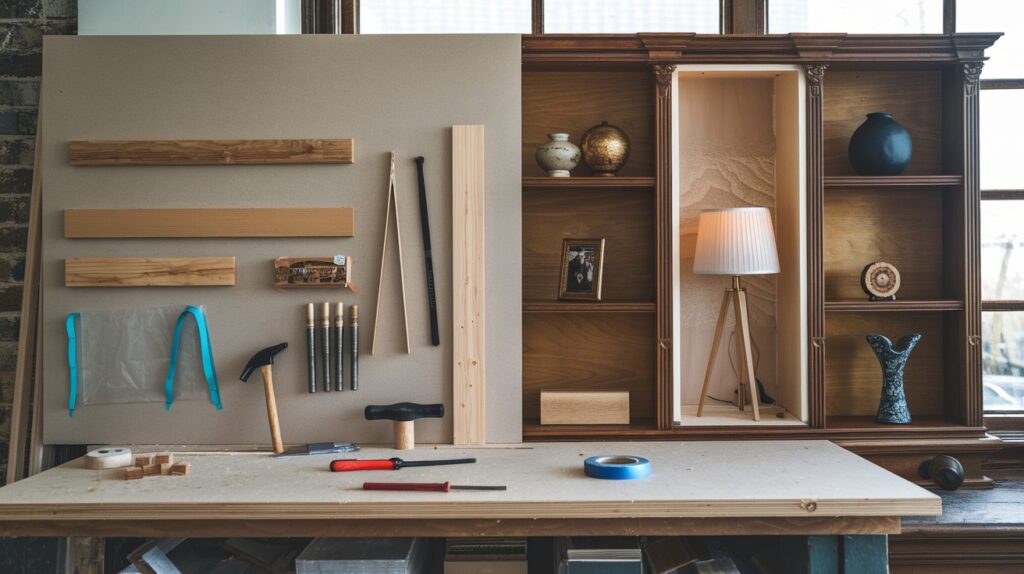
Custom built-ins from a carpenter? Prepare to spend $1,200 to $3,000 per foot,That 8-foot bookshelf could cost you $10,000. Ouch.
I built the same thing for $400 in materials. That’s a 96% savings,But here’s the real win. You control every detail. Shelf height. Door style. Paint color. Everything.
Can’t get that customization at the furniture store.
Planning Your Built-In Project
Measure Everything Twice
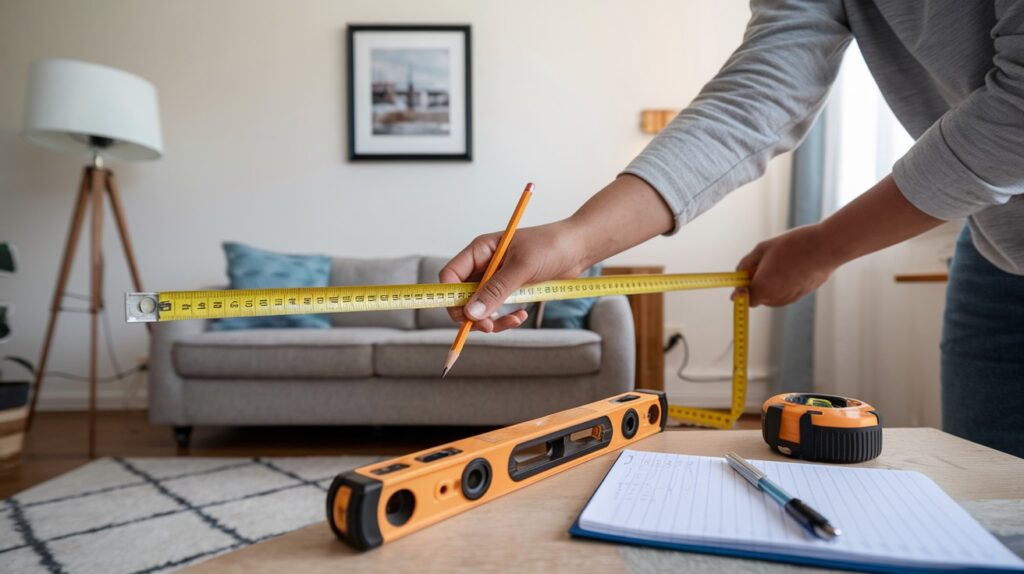
I learned this the hard way on my second project,Walls aren’t straight. Ceilings aren’t level. Your room probably has quirks you haven’t noticed.
Here’s what I do now:
Measure the wall width in three spots. Top, middle, and bottom. Write down all three numbers,Check the ceiling height at both ends. Sometimes there’s a half-inch difference.
That half-inch will haunt you if you ignore it.
Use a long level against the wall. Mark any high or low spots with pencil. You’ll need to know about these later.
Pick a Design That Fits Your Space
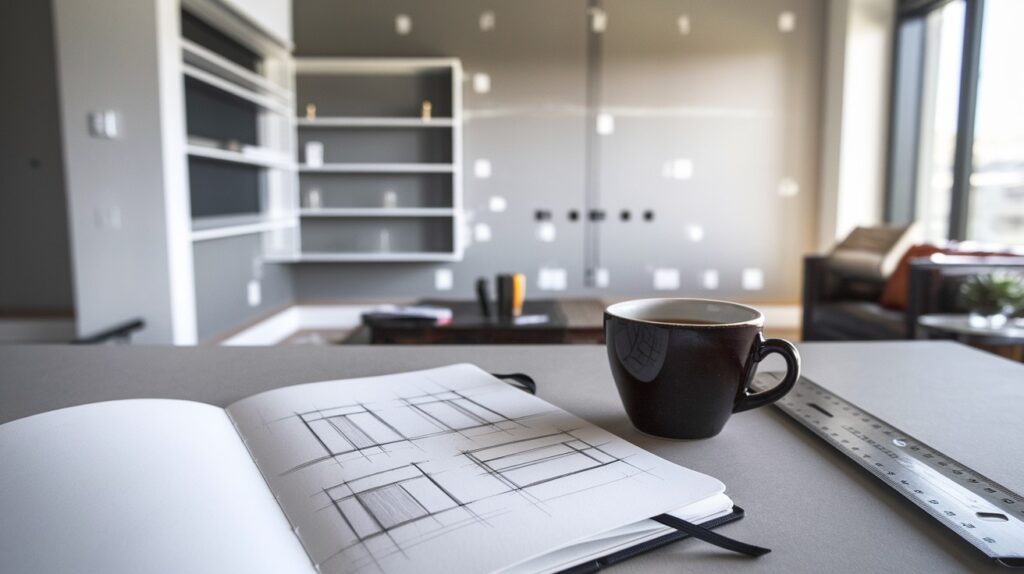
Your built-in should match your house style,Traditional home? Go with face frames and raised panels.
Modern house? Clean lines work better,But don’t overthink this part.
Simple designs usually look the best. Plus they’re easier to build,I always sketch my ideas first. Nothing fancy. Just boxes and lines on paper.
Think about what you’ll store. Books need 10-inch deep shelves. Electronics need 18 inches,Planning saves you from expensive mistakes later.
Get the Right Materials
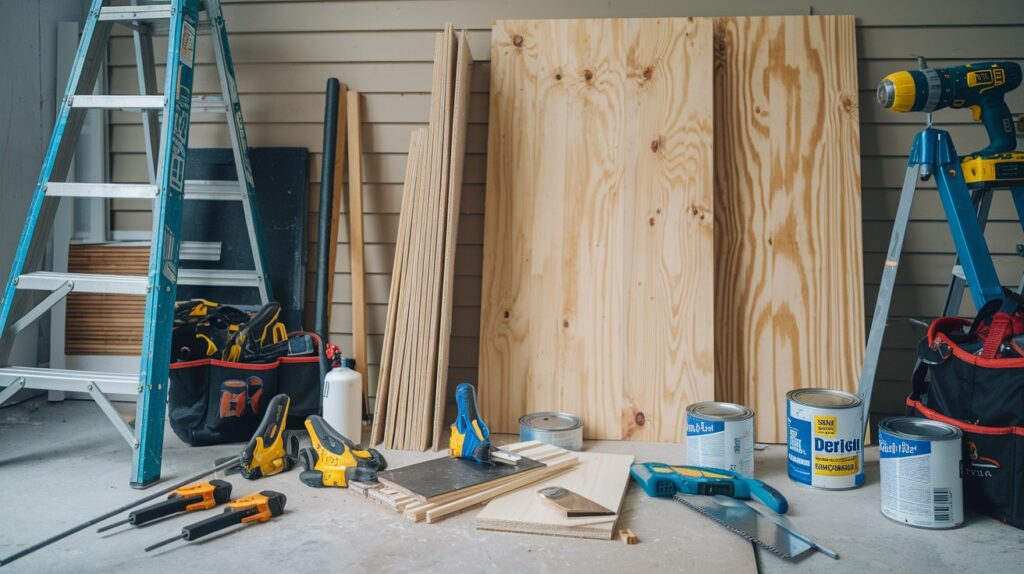
You need 3/4-inch plywood for the main structure. 1×2 boards for face frames. Wood screws in different sizes. Wood glue. Sandpaper. Paint or stain.
For tools, grab a circular saw or table saw. A drill with bits. A good level. Measuring tape. Clamps.
Don’t buy cheap plywood. Cabinet-grade is worth the extra cost. It looks better and lasts longer.
Building Your Built-In Step by Step
Step 1: Clean and Prep Your Space
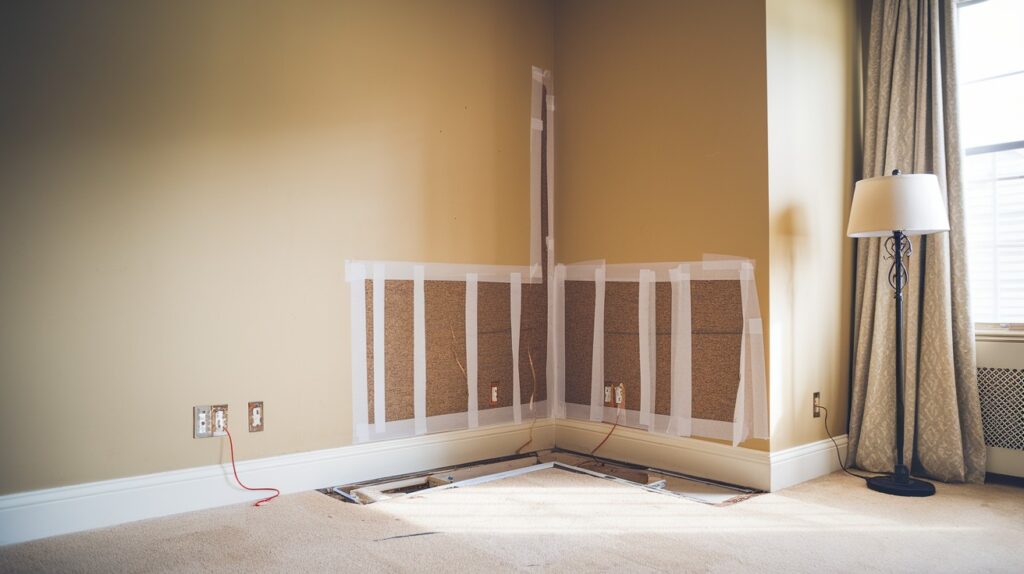
Move everything out. I mean everything,Turn off power to any outlets in your work area. Remove the outlet covers,Find your wall studs with a stud finder. Mark them with tape.
You’ll screw into these studs later for strength,Remove the baseboard trim carefully if you want to reuse it.
Step 2: Build the Base First
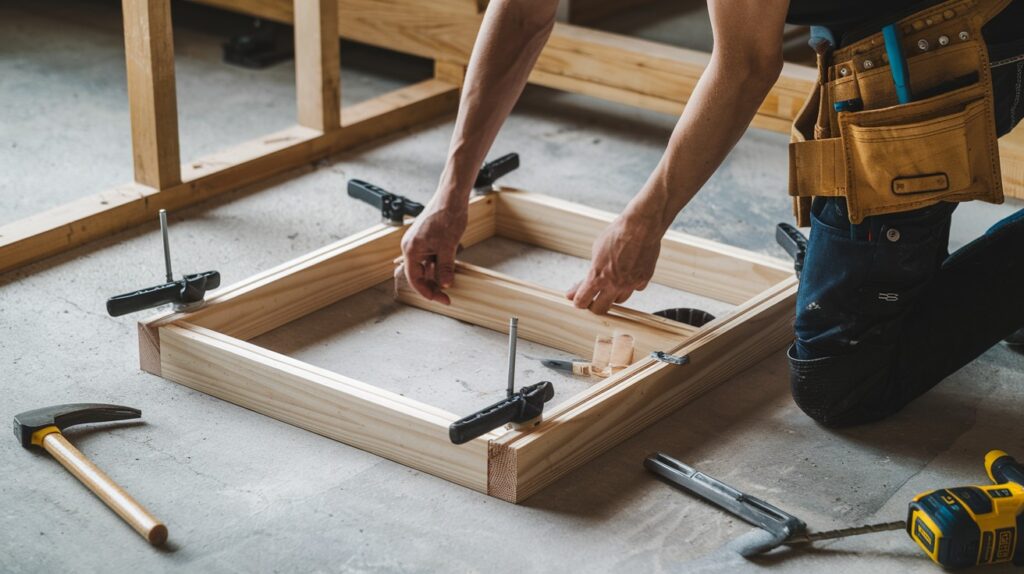
Start with a simple rectangle frame using 2×2 lumber,Make it slightly smaller than your built-in width. This gives you wiggle room.
Here’s the key: Get this base perfectly level. Use shims if needed,Screw it to the floor. This frame lifts your built-in off the ground.
Why does this matter? Protects from water damage. Makes cleaning easier too.
Step 3: Construct the Main Box
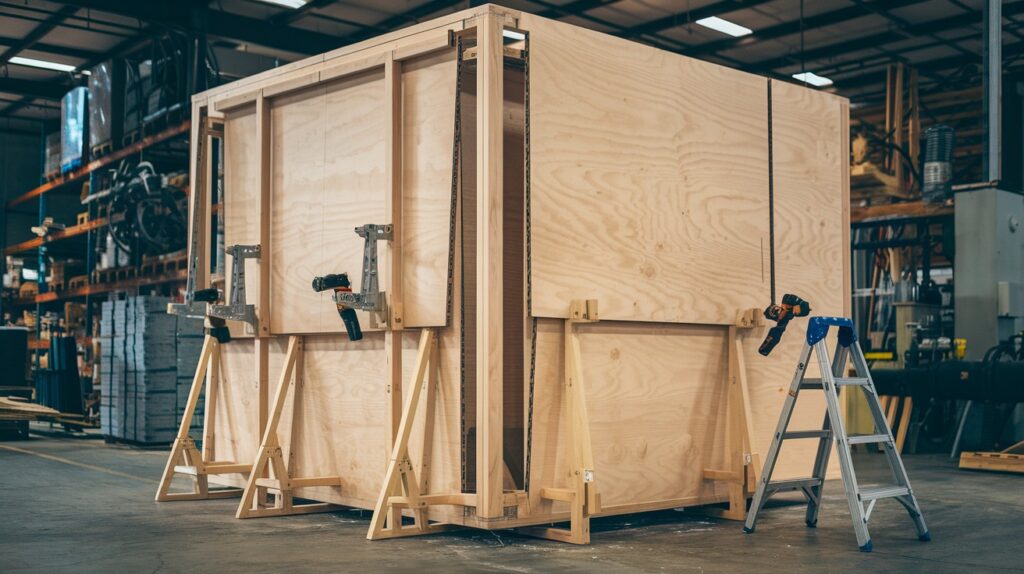
Cut your side panels from 3/4-inch plywood,make them a bit shorter than ceiling height. You need space to tip them into place, and all pieces before assembly. It’s way easier now than later.
Use wood glue and screws for strong joints,Add the back panel. This stops the whole thing from wobbling.
A wobbly bookshelf looks amateur.
Step 4: Install and Secure Everything
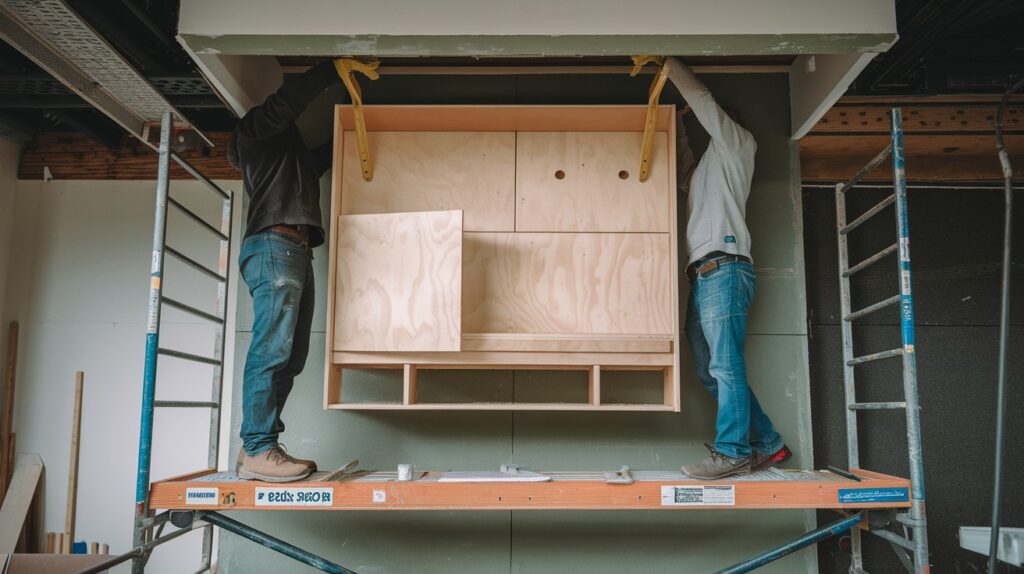
Lift your box onto the base frame. Get help with this part,Check that it’s level and square. Adjust with shims if needed.
Screw through the back panel into wall studs. Use 3-inch screws,Add the top piece. Scribe it to follow ceiling curves if needed.
Now install your face frame. This hides the plywood edges.
Step 5: Sand and Finish Like a Pro
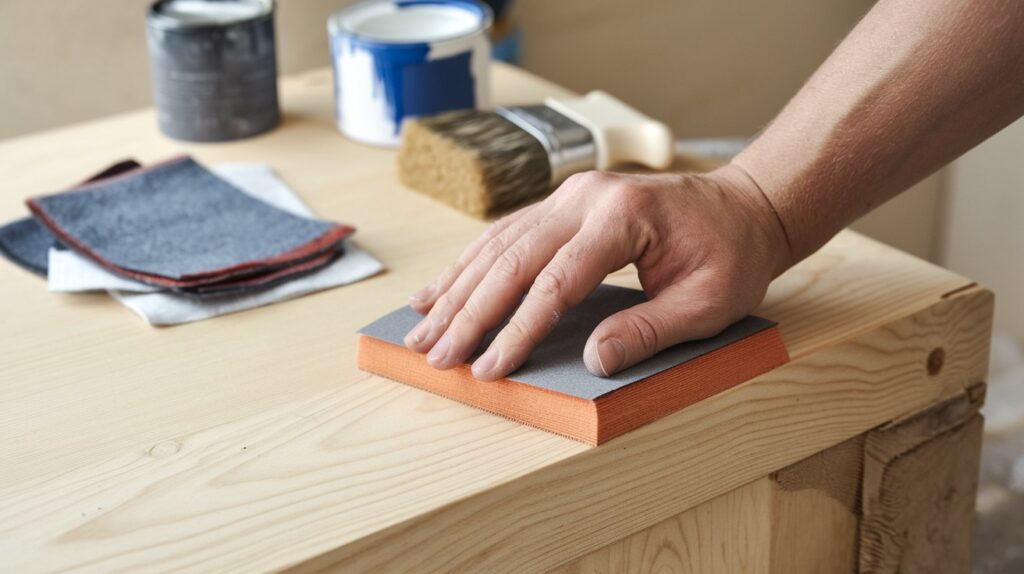
Sand everything starting with 120-grit paper. Work up to 220-grit.
Don’t skip this step. Rough wood shows every flaw after painting,Clean off all dust with a tack cloth.
Prime everything. Even if you’re using dark paint,apply paint in thin coats. Two or three coats usually work.
Patience here pays off in the final look.
Making Your Built-In Look Amazing
Add Lighting for Drama
LED strip lights under shelves create amazing ambiance,Battery-powered puck lights work great if you don’t want to run wires.
Lighting changes storage into a showpiece,Hide the wires behind trim or inside channels you route into the wood.
Smart Storage Solutions
Pull-out drawers in bottom sections make everything accessible,Wire baskets look good and let you see what’s stored.
Think about how you actually use your stuff,Charging stations with hidden outlets handle modern needs.
Finishing Touches That Matter
Crown molding at the top makes it look built-in, not added on,Match your existing baseboard trim style.
Glass doors protect valuable collections while keeping them visible,Paint the back wall a different color for depth.These details separate good from great.
Conclusion
Building your first DIY built-in feels scary. I get it,But here’s what I learned after building dozens of these projects. The hardest part is starting.
You have everything you need right here. The plan. The materials list. The step-by-step process.
Take it slow. Don’t rush the measuring phase. Sand between every coat of paint,Your built-in will look like it came with the house.
Start planning your project this weekend. Measure your space. Sketch your design. Make that materials list.
Every expert was once a beginner. I made mistakes on my first build. You probably will too,That’s perfectly normal.
Ready to start building? Your dream storage solution is just a few weekends away,Go create something amazing.
Frequently Answered Questions
How Long Will This Take Me?
Plan on 3-4 weekends for your first built-in,hat includes planning, building, and finishing time. Complex designs with doors take longer. Maybe 6-8 weekends,Don’t rush it. Better to take your time than fix mistakes.
What Will This Cost?
Basic 8-foot built-in costs $300-600 in materials,Compare that to $2,000-5,000 for professional work. Premium materials like solid wood cost more. But you’re still saving thousands,Factor in tool costs if you don’t own them already.
Can I Really Do This as a Beginner?
Absolutely. Built-ins use basic woodworking skills,measuring, cutting, screwing pieces together. Nothing too complex. Start simple. Skip doors and drawers on your first project. Success builds confidence for more complex projects later.
Will This Add Value to My Home?
Built-ins typically return 60-80% of cost when you sell,But the real value is daily use and enjoyment,Buyers love seeing organized storage solutions. Custom built-ins often become the feature that sells the house.
What Wood Should I Use?
Cabinet-grade plywood is your best bet,Birch plywood paints beautifully. Oak plywood stains well.Avoid construction-grade plywood. It has knots and defects that show through paint.

