
After two decades in home construction and restoration, I’ve seen countless homeowners face the same frustrating scenario: their LP siding showing signs of wear, moisture damage, or structural issues.
LP siding, made from engineered wood strands and resins, offers affordability and versatility but comes with inherent vulnerabilities to moisture, impact, and weather exposure that can compromise your home’s protection.
I’ve witnessed how small siding problems, when ignored, can escalate into costly structural repairs that drain budgets and disrupt families.
That’s why I created this comprehensive guide – to share practical, field-tested solutions for the most common LP siding challenges.
Through years of hands-on experience, I’ll walk you through identifying problems early and implementing repairs that protect both your home and your investment.
Understanding LP Siding and Its Vulnerabilities
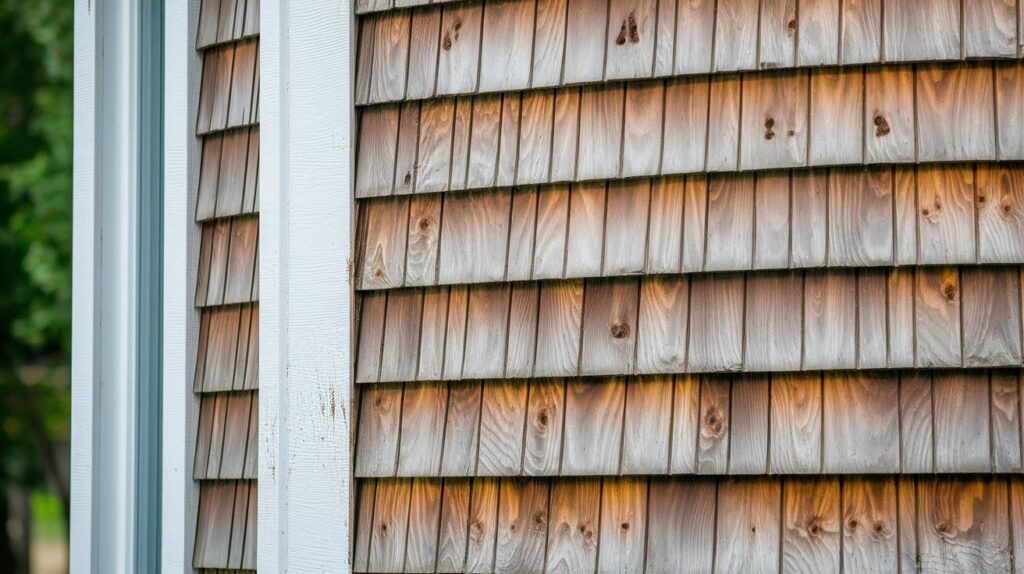
LP siding consists of wood strands and chips compressed with adhesive resins to form Oriented Strand Board (OSB).
This engineered material offers a cost-effective alternative to traditional wood siding, but the layered construction can separate when moisture penetrates between strands.
Moisture penetration causes the biggest problems. Water seeping through cracks makes wood strands swell and boards delaminate. Poor maintenance accelerates this process by allowing small issues to worsen.
Pest activity from insects and birds creates entry points, while age and weather exposure naturally break down protective coatings and weaken strand bonds.
Temperature fluctuations cause the material to expand and contract repeatedly, creating stress points that eventually crack.
Without proper caulking and sealing, these vulnerable spots become gateways for water damage and structural problems.
Fixing Water Penetration and Swelling

Identify the Affected Areas
Start by walking around your home and looking for boards that appear warped, bulging, or discolored.
Pay special attention to areas that face prevailing winds and rain, as these sections take the most beating from the weather.
Check corners, joints, and areas around windows and doors where water commonly collects.
Temporary Sealing
For minor gaps and small cracks, exterior-grade caulking provides an immediate fix. Clean out any loose debris first, then apply a smooth bead of caulk to seal the opening.
When dealing with slightly swollen boards, applying primer followed by moisture-resistant paint can buy you time as a short-term solution.
Addressing Mold and Fungal Growth
Detecting Mold Early
Look for dark spots, streaks, or patches that appear black, green, or brown on your siding surface. These discolorations often start small but spread quickly in damp conditions. Trust your nose, too.
A musty, earthy smell around your home’s exterior signals mold growth even when you can’t see it yet. Pay close attention to areas around windows, doors, and trim where water tends to collect.
Cleaning and Treatment
Mix a solution of one part bleach to three parts water, or use a commercial mold-killing cleaner designed for exterior surfaces. Scrub the affected areas with a stiff brush, working from bottom to top to prevent streaking.
Rinse thoroughly with clean water and allow the surface to dry completely before applying any new paint or sealant.
Preventing Recurrence
Good drainage keeps water moving away from your siding, rather than pooling against it. Clean gutters regularly and check that downspouts direct water at least three feet from your foundation.
Keep paint and caulk in good condition to prevent moisture from penetrating the surface where mold can take hold.
Dealing With Termite Damage
Signs of Infestation
Tap your siding boards with the handle of a screwdriver. Healthy boards sound solid, while termite-damaged sections sound hollow.
Look for small piles of sawdust-like material called frass near your home’s base and tiny, round holes about pencil-tip size scattered across the siding.
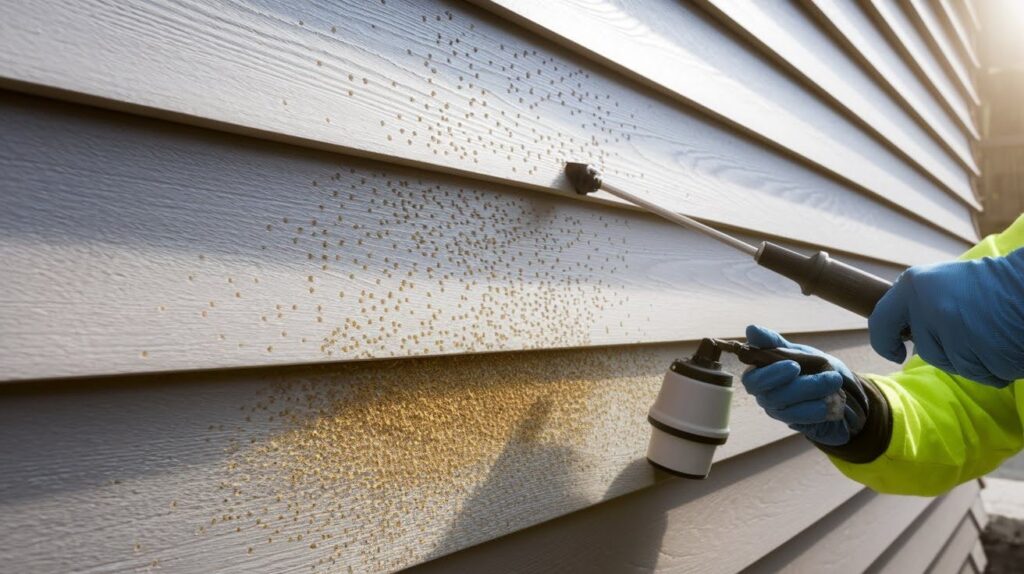
Pest Control Measures
Call a licensed pest control professional immediately when you spot termite activity. They can assess damage extent and create treatment plans targeting entire colonies.
Many use borate-based wood treatments that penetrate deep and protect against future infestations.
Repair and Prevention
Replace severely damaged panels with fiber cement or pest-resistant materials. Remove wood mulch or debris touching your siding and maintain at least six inches of clearance between soil and siding to eliminate direct contact that attracts termites.
Improving Appearance After Discoloration
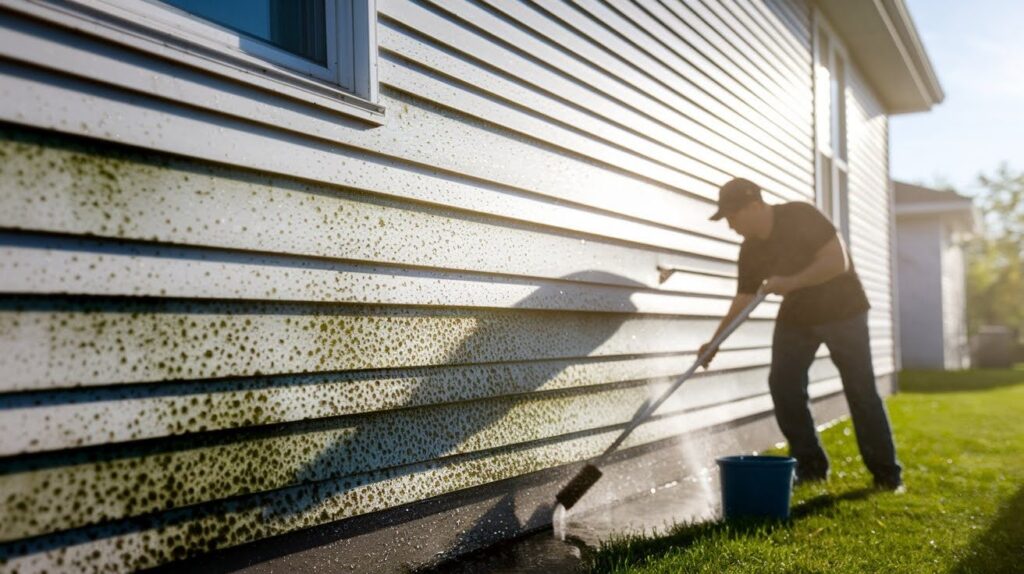
Cleaning the Surface
Start with a gentle power wash using low pressure to avoid forcing water into wood strands. For stubborn mildew and stains, apply a solution of one part bleach to four parts water, scrub with a soft brush, and rinse thoroughly. Allow 48 hours drying time.
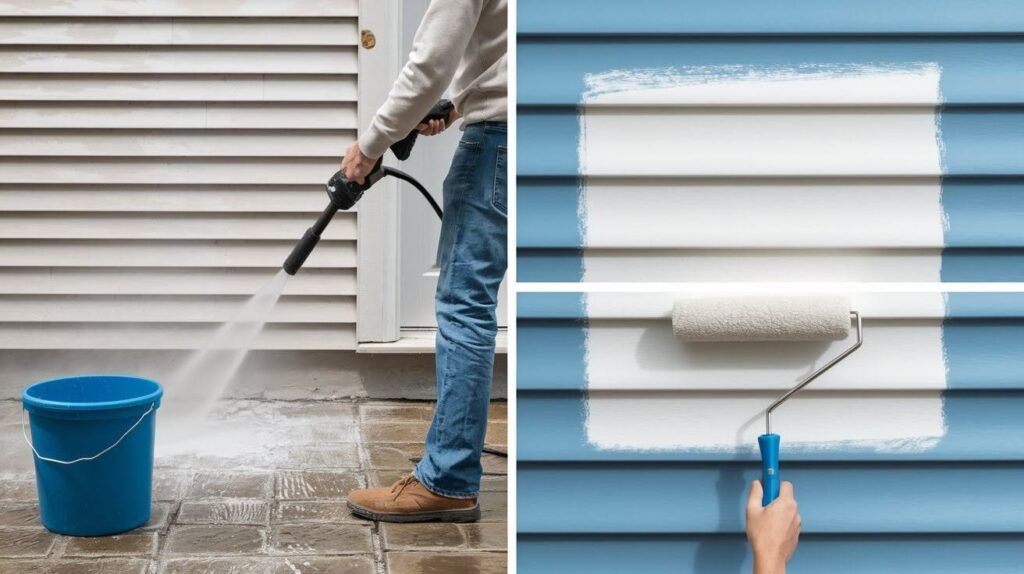
Repainting
Choose a primer specifically formulated for OSB and engineered wood products for better penetration and adhesion. Apply primer evenly and let it cure completely.
Follow with two coats of high-quality exterior paint, allowing proper drying time between coats for long-term protection and color consistency.
When to Call a Professional
Extensive Damage
If more than 30% of your siding shows signs of swelling, rot, or structural compromise, replacement often costs less than piecemeal repairs.
When damage extends behind the siding to sheathing or framing, you need a professional assessment to prevent further structural issues.
Complex Installations
Siding replacement requires specialized tools like pneumatic nailers, chalk lines, and proper safety equipment for working at height.
Professionals know how to properly install house wrap, flash around windows and doors, and maintain proper spacing for thermal expansion.
They also understand local building codes and can spot underlying moisture or structural problems that DIY repairs might miss.
Conclusion
Through years of working with homeowners facing LP siding challenges, I’ve learned that success comes down to early action and consistent maintenance.
The repair strategies we’ve covered, from sealing water damage and treating mold to addressing termite issues and restoring appearance, can extend your siding’s life significantly when applied promptly.
I’ve seen too many families face unexpected expenses because they waited until small problems became major failures.
Regular inspections, quick fixes for minor damage, and proactive cleaning can save you thousands in replacement costs.
Remember, your home’s exterior protection depends on staying ahead of these common issues.
Take action today. Walk around your home this weekend, check for the warning signs we discussed, and address any problems while they’re still manageable. Your future self will thank you.
Frequently Asked Questions
How long does LP siding typically last before needing repairs?
LP siding generally lasts 15-25 years with proper maintenance, but problems can start within 5-10 years in harsh climates. Regular inspections and prompt repairs extend its lifespan significantly.
Can I repair LP siding myself, or should I hire a professional?
Minor repairs like caulking and cleaning are DIY-friendly with basic tools. Extensive damage or full panel replacement requires professional expertise and specialized equipment.
What’s the difference between repairing and replacing damaged LP siding?
Repair works for surface damage and minor swelling using caulk and paint. Replacement becomes necessary when boards are severely warped or structurally compromised.
How can I prevent moisture damage to my LP siding?
Maintain proper drainage and keep gutters clean to direct water away from siding. Regular caulking and quality exterior paint create moisture barriers, preventing water penetration.
Why does my LP siding keep developing mold even after cleaning?
Persistent mold indicates ongoing moisture problems from poor ventilation or damaged caulking. Address the water source first, then clean and treat affected areas.