
After twenty years of helping homeowners tackle basement moisture problems, I’ve learned that most people don’t realize their concrete floor is working against them.
During my first basement renovation, I made the costly mistake of installing carpet directly over unsealed concrete, only to rip it out six months later when mold started growing underneath.
That expensive lesson taught me that sealing your basement floor isn’t just an optional step it’s the foundation of any successful basement project.
Either you are planning a complete renovation, setting up a workshop, or simply tired of that persistent musty smell, proper floor sealing makes the difference between a space you avoid and one your family wants to use.
Why Sealing Your Basement Floor Matters
Proper basement floor sealing prevents moisture infiltration and creates healthier, more durable living spaces for your family.
Moisture Is the Enemy
Concrete may appear solid, but it’s a porous material that readily absorbs moisture from the ground beneath your home.
This natural characteristic creates ongoing problems as groundwater and soil moisture continuously penetrate through the floor surface.
Over time, these damp conditions create the perfect environment for mold growth, persistent musty odors that permeate your entire home, and even serious structural damage that compromises your foundation’s integrity.
Benefits of Sealing
- Creates a protective barrier that blocks water vapor transmission and prevents dangerous radon gas from entering your living space.
- Eliminates moisture conditions that support mold and mildew growth, creating a healthier indoor environment for your family.
- Makes the floor surface significantly easier to clean and maintain by creating a smooth, non-porous finish.
- Increases the lifespan of flooring materials installed over concrete by preventing moisture damage from below.
- Protects your investment in carpeting, laminate, or tile by stopping ground moisture penetration.
Step 1: Assess Moisture Levels
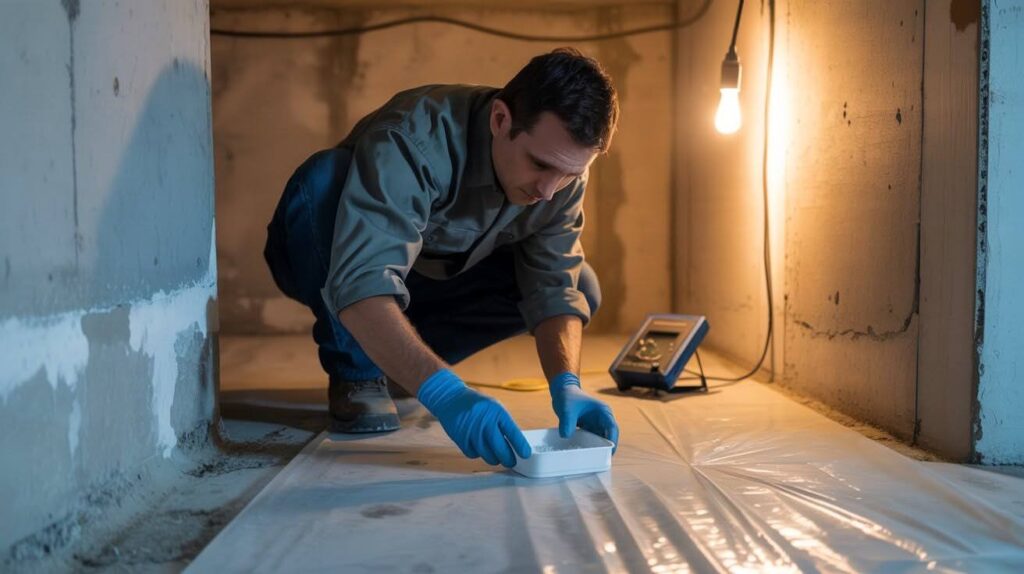
Do a Moisture Test
Start by conducting a proper moisture assessment using calcium chloride or plastic sheet tests to measure vapor transmission rates.
These tests reveal how much moisture penetrates through your concrete floor over 24 hours. For most sealers, aim for moisture levels under 3-5 lbs per 1000 square feet per 24 hours, though luxury vinyl plank installations can tolerate up to 8 lbs.
Watch for Warning Signs
Look for efflorescence, which appears as white powdery deposits on concrete surfaces, indicating moisture movement. Dark patches on the concrete signal ongoing water penetration, while musty smells and consistently high humidity levels confirm moisture problems that require immediate attention.
Step 2: Choose the Right Sealer
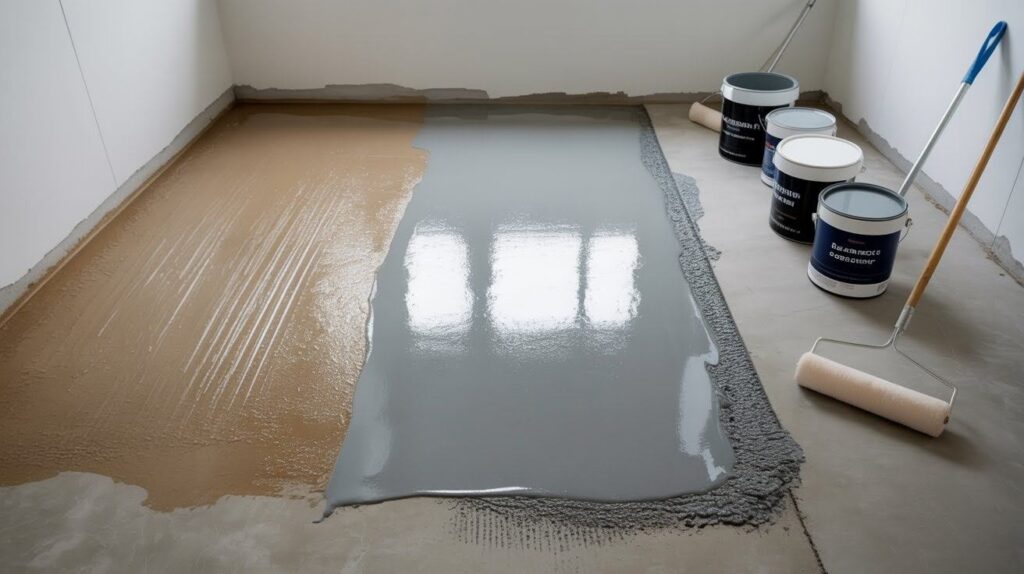
Penetrating Sealers (Silane/Siloxane)
These work best for light moisture control and vapor reduction without changing your concrete’s natural appearance. They penetrate deep into the concrete pores but allow the surface to breathe naturally.
Epoxy and Urethane Coatings
Choose these for heavier moisture conditions where you need maximum protection. They create a strong, completely sealed surface but aren’t breathable, so you must apply them only to clean, completely dry concrete.
Radon-Blocking Sealers
Specialized products like RadonSeal Deep-Penetrating Concrete Sealer block both water vapor and dangerous radon gas transmission, providing dual protection for your family’s health.
Step 3: Prep the Surface Like a Pro
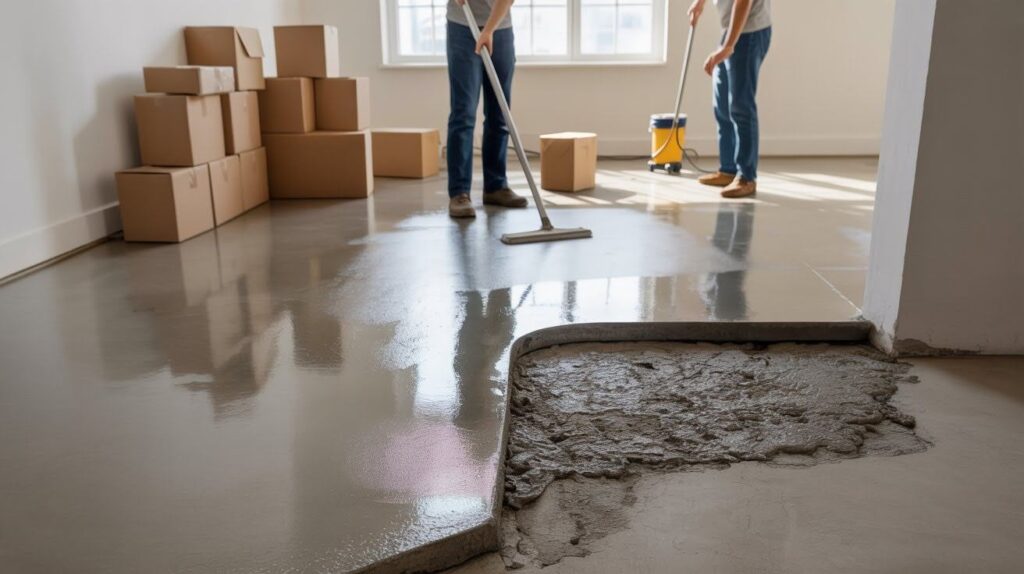
Clear and Clean the Area
Remove all furniture, storage boxes, and items from the basement floor completely. Sweep thoroughly and vacuum all dust and debris to ensure proper sealer adhesion.
Degrease and Etch
Apply concrete cleaner and degreaser to remove oil stains and residue that prevent sealer penetration. Follow with masonry etch or carefully diluted muriatic acid to open the concrete pores for maximum sealer absorption.
Fix Cracks and Joints
Fill any cracks using hydraulic cement or quality concrete crack filler before sealing. However, avoid sealing the cove joint where the floor meets the wall – this gap needs to breathe and provide drainage if water enters.
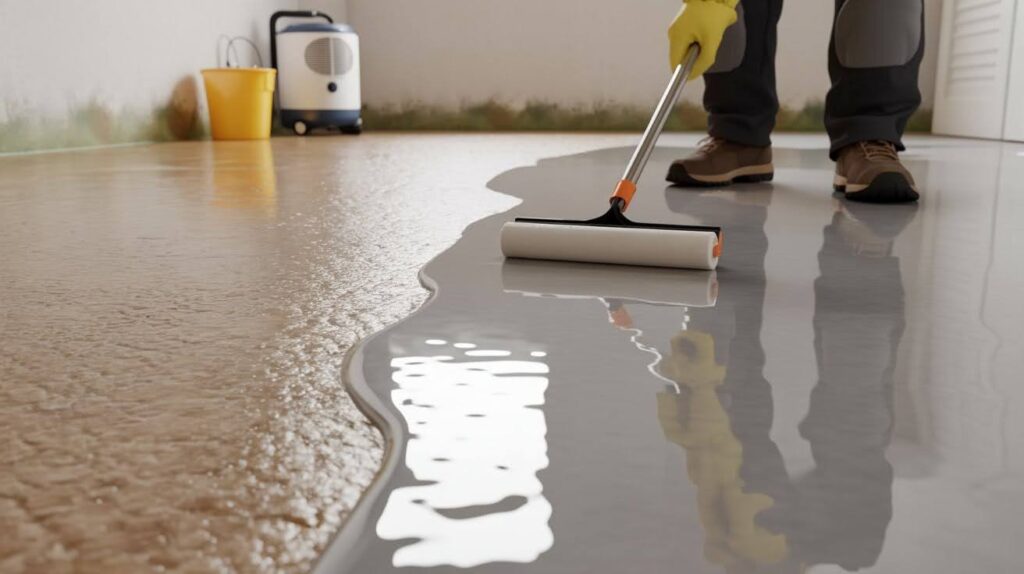
Step 4: Apply the Sealer Properly
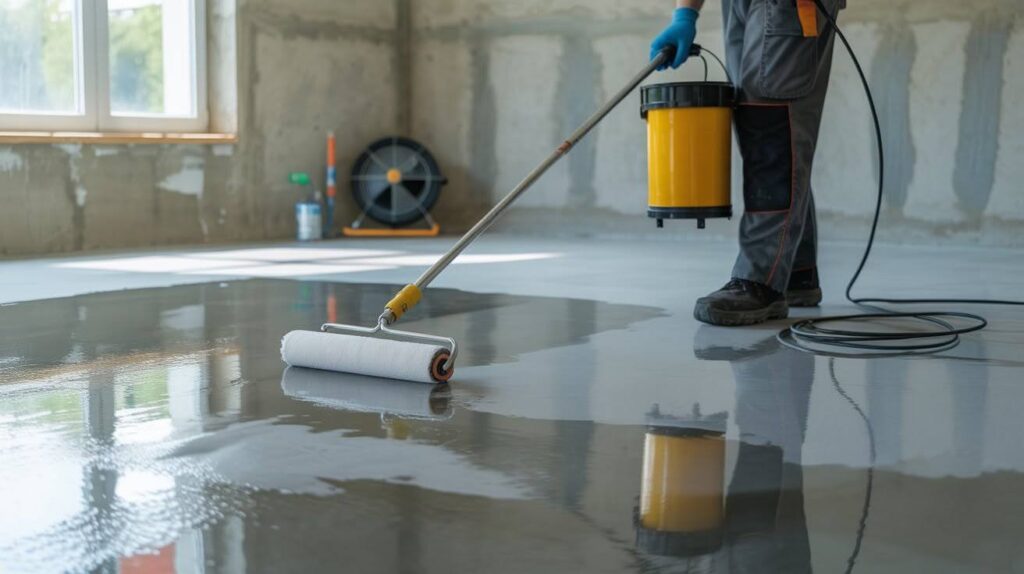
Follow the Manufacturer’s Instructions
Always wear protective gloves, masks, and clothing during application. Use the recommended application method – brush, roller, or sprayer – specified for your chosen product to ensure proper coverage.
Apply Multiple Coats (If Needed)
Allow the first coat to dry completely according to the manufacturer’s specifications before applying additional coats. Monitor cure times carefully and never install flooring materials until the sealer has fully cured, which can take several days.
Pro Tips for Long-Term Success
- Never apply sealer over wet concrete, as moisture trapped beneath prevents proper bonding and causes bubbling, peeling, or complete failure within months.
- Use quality tape or foam backer rod around all edges where the floor meets walls to prevent water seepage behind the sealed surface.
- Maintain excellent airflow throughout application and curing periods to promote proper drying and remove chemical vapors from sealers.
- Install a radon vent system for additional protection, as radon gas can still accumulate through other entry points even with sealed floors.
- Test moisture levels multiple times before sealing to ensure the concrete is completely dry and ready for treatment.
- Allow full cure time before walking on or installing flooring over the sealed surface, even if it appears dry to the touch.
Conclusion
After helping countless homeowners fix basement moisture problems, I’ve seen firsthand how proper preparation and sealer selection can completely change your space.
The difference between a damp, musty basement and a dry, comfortable room often comes down to taking time with these critical steps.
Whether you’re planning a complete basement renovation or simply want to stop dealing with moisture issues, sealing your floor correctly is one investment that pays dividends for years.
I’ve watched too many people rush through this process only to face the same problems months later.
Do it right the first of your family’s health and your home’s value depend on creating that solid foundation beneath your feet.
Frequently Asked Questions
How long should I wait before walking on a sealed basement floor?
Most sealers require 24-48 hours before light foot traffic and 72 hours for full cure time. Check manufacturer specifications as cure times vary significantly between different sealer types and environmental conditions.
Can I seal over existing basement floor paint or coatings?
You must remove all existing paint, coatings, or sealers before applying new products for proper adhesion. Use concrete grinders, chemical strippers, or sandblasting to create a clean, bare concrete surface.
What’s the difference between concrete sealer and basement waterproofing?
Concrete sealers prevent moisture vapor transmission through the floor but aren’t designed for active water leaks. True waterproofing systems address hydrostatic pressure and standing water issues that sealers cannot handle.
How often do I need to reapply basement floor sealer?
Quality penetrating sealers typically last 10-15 years, while surface coatings may need reapplication every 3-7 years. Monitor for signs of wear, like increased dust, staining, or moisture penetration, to determine timing.
Should I seal basement floors before or after installing a sump pump?
Install and test your sump pump system first, then seal the floor around it carefully. This prevents disrupting the sealed surface later and ensures proper drainage remains functional.