
I love a good DIY project. And painting cabinets? It’s one of the most rewarding ways to transform your kitchen without breaking the bank.
But here’s the thing.
Most people get frustrated halfway through. Why? Streaks everywhere. Bubbles that won’t go away. A finish that looks more amateur than amazing.
The problem isn’t your technique. Well, it’s not entirely. It’s your roller.
Yes, that simple tool makes all the difference between a professional-looking result and a disaster you’ll want to hide from guests. The right roller can give you that smooth, factory-like finish you see in magazines.
Wrong roller? You’ll be repainting sooner than you’d like.
In this guide, I’ll show you exactly which rollers work best for cabinets, how to use them properly, and the mistakes that sabotage even the best intentions.
Why the Right Roller Matters
Your roller choice affects everything about your final result.
Think of it this way: you wouldn’t use a sledgehammer to hang a picture frame. The same logic applies here. Different tools create different finishes.
Brushes vs. Rollers vs. Sprayers
Brushes leave visible brush marks on flat surfaces. They work great for detailed areas and edges, but not for large cabinet doors.
Sprayers give the smoothest finish but require serious prep work. Plus, they’re messy and expensive for most DIYers.
Rollers hit the sweet spot. They’re affordable, easy to control, and can create that smooth finish you want.
What happens with the wrong roller:
- Cheap rollers leave texture patterns
- Low-quality covers shed into your paint
- Wrong nap creates an orange peel effect
- Poor-quality foam traps air in the paint
The material matters. The size matters. Even the core construction affects your results.
Get it right, and people will ask if you hired professionals.
What to Look for in a Cabinet Painting Roller
Smooth, Lint-Free Surface: Your roller cover should feel smooth to the touch. Run your hand over it. If it feels rough or sheds fibers, it will do the same in your paint.
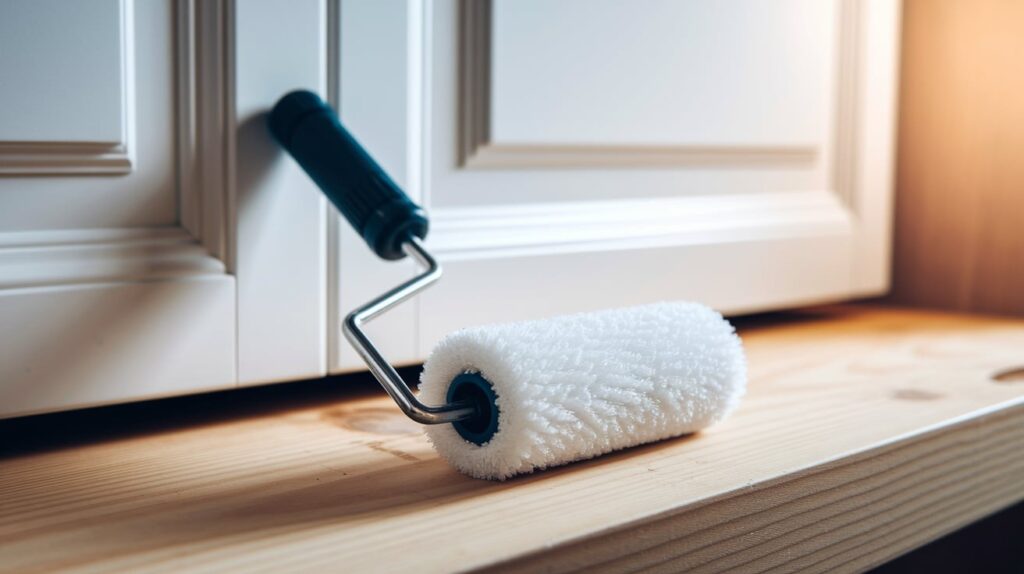
Material Type: Foam vs. Microfiber: Foam rollers create the smoothest finish. They hold less paint but spread it evenly without texture.
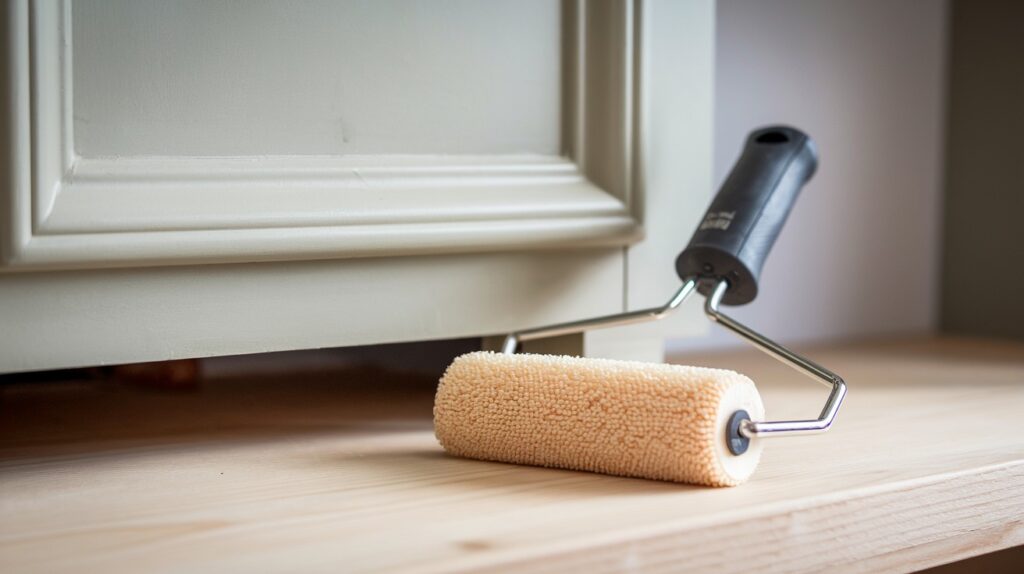
Microfiber covers hold more paint and work faster. They create a slight texture that some people prefer.
Size Matters: Mini Rollers Rule: Forget those big 9-inch rollers. For cabinets, you want 4-inch or 6-inch mini rollers. because of better control, less dripping, and easier maneuvering around hinges and hardware.
Core Quality: The plastic or cardboard core needs to be sturdy. Cheap cores bend under pressure, making it impossible to apply even pressure.
Paint Compatibility:
- Latex paints: Foam or synthetic covers
- Oil-based paints: Natural materials like mohair
- Enamel paints: High-density foam or quality synthetic
Best Rollers for Painting Cabinets
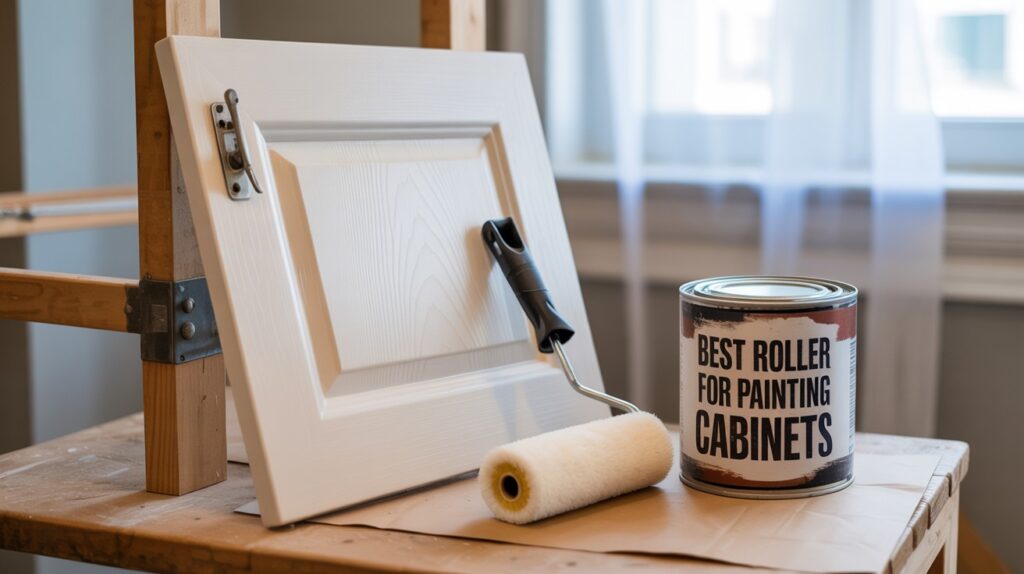
Here are my top picks after testing dozens of options
1. FoamPRO Fine Finisher 4″ Roller
This is my go-to for ultra-smooth finishes. The foam is dense and fine-textured. It leaves virtually no marks when used correctly.
Best for: Water-based paints and when you want the smoothest possible finish.
2. Purdy White Dove Mini Roller
High-quality microfiber that doesn’t shed. Holds plenty of paint without dripping. Creates a slight texture that hides minor imperfections.
Best for: First-time painters who want forgiving results.
3. Wooster Mohair Blend Roller
Perfect for oil-based enamel paints. The natural mohair fibers work beautifully with these thicker paints.
Best for: Oil-based cabinet paints and experienced painters.
4. NANOTEX Microfiber Mini Roller
Great middle-ground option. Smooth finish without the fragility of foam. Easy to clean and reuse.
Best forr: Multiple coat applications and latex paints.
5. Pro Grade Foam Roller Set
Budget-friendly without sacrificing quality. Comes with extra covers so you can switch between coats.
Best forr: DIYers watching their budget but wanting good results.
Foam vs. Microfiber – Which Should You Choose?
|
Feature |
Foam Rollers |
Microfiber Rollers |
|
Finish Quality |
Ultra-smooth, factory-like |
Slight texture, forgiving |
|
Paint Capacity |
Low, frequent reloading |
High, covers more area |
|
Durability |
Fragile, tears easily |
Sturdy, reusable |
|
Speed |
Slower application |
Faster coverage |
|
Best Paint Types |
Water-based, latex |
All types, versatile |
|
Cost |
Budget-friendly |
Slightly more expensive |
|
Skill Level |
Requires more technique |
Beginner-friendly |
|
Final Appearance |
Professional showroom look |
Natural, lived-in feel |
Pro Tips: Use microfiber for primer and base coats, then switch to foam for your final coat.
Pro Tips for Using Rollers Without Leaving Marks
- Clean cabinets thoroughly and sand lightly before painting
- Use high-quality primer first
- Apply thin coats, not heavy globs
- Roll in one direction only
- Use light pressure, let the roller do the work
- Don’t go back over areas that are starting to dry
- Add paint conditioner like Floetrol for better leveling
- Work in manageable sections to maintain a wet edge
- Keep roller covers damp between coats
Clean-Up and Roller Care
Clean rollers immediately after use. For water-based paints, rinse with warm water and mild soap. For oil-based paints, use paint thinner first, then soap and water.
Store covers flat and dry completely before next use. Wrap in plastic between coats to prevent drying out.
Replace covers that shed fibers, show wear, or have dried paint buildup. Most covers can go in regular trash once dried.
Common Mistakes to Avoid
Here’s what trips up most DIYers
- Reusing dirty rollers – Paint residue ruins your next coat
- Using wall roller nap sizes – Too thick for smooth cabinet finishes
- Pressing too hard – Creates streaks and uneven coverage
- Skipping surface prep – Paint won’t stick or level properly
- Rolling over semi-dry paint – Pulls up the previous coat
- Loading roller too heavily – Causes drips and runs
- Not maintaining a wet edge – Creates lap marks where sections overlap
- Using cheap roller frames – Bend under pressure, affecting control
Conclusion
Getting professional-looking cabinet results doesn’t require professional prices. It requires the right roller and proper technique.
The difference between amateur and amazing comes down to details. Quality rollers. Proper prep. Thin coats are applied correctly.
Yes, good rollers cost more upfront. But they’re still cheaper than hiring painters or redoing the job because you used the wrong tools.
Your cabinets are the focal point of your kitchen. They deserve better than streaky, bubbly paint that screams “DIY disaster.”
Invest in the right roller. Follow the techniques I’ve shared. Take your time with prep and application. Cabinets that look like they came from a high-end showroom, not a weekend warrior’s garage.
Start with the right roller, and you’re already halfway to success.
Frequently Asked Questions
Can I use a regular wall roller on cabinets?
No. Wall rollers are too large and have the wrong nap for smooth cabinet finishes. Stick with 4-6 inch mini rollers designed for trim and cabinets. The smaller size gives you much better control over cabinet hardware and detailed areas.
How do I stop roller marks on cabinet doors?
Use light pressure, thin coats, and quality rollers. Don’t overwork the paint, and consider adding paint conditioner for better leveling. Always maintain a wet edge and work in manageable sections to avoid lap marks.
Is foam better than microfiber for a smooth finish?
Yes, foam creates the smoothest finish. But microfiber is more forgiving for beginners and hides minor imperfections better. Choose based on your skill level and the look you want to achieve.
Should I sand between coats?
Light sanding with 220-grit paper helps subsequent coats adhere better. Just dust thoroughly before the next coat. This step is especially important if you notice any raised grain or imperfections after the first coat.
How many coats should I apply with a roller?
Two to three thin coats typically give the best results. Prime first, then apply two finish coats for full coverage and durability. Thinner coats always look better than thicker ones that may sag or show texture.