
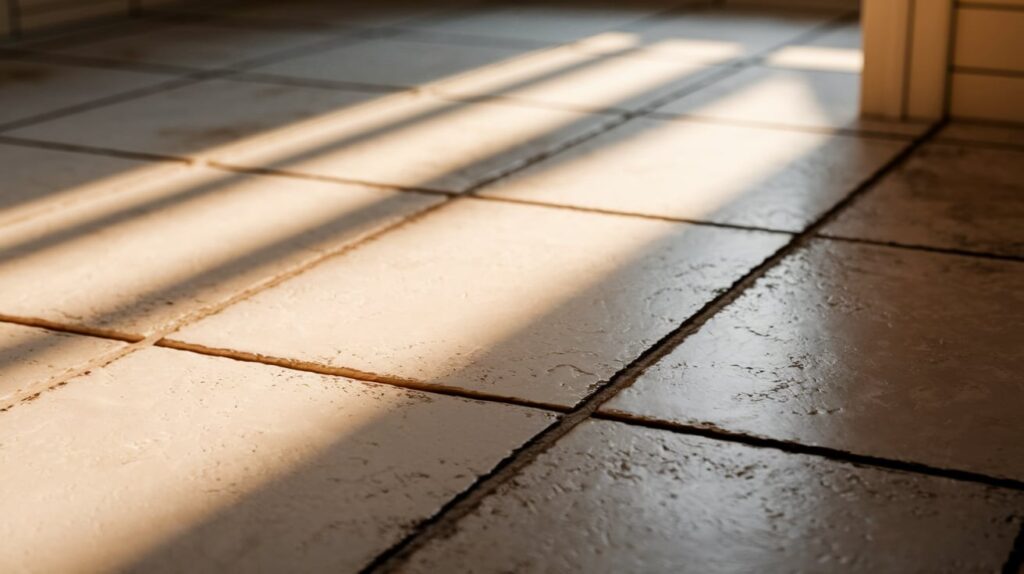
Grout is that cement-like material between your tiles. It keeps water out and holds everything in place. But here’s the problem: grout is porous.
This means it soaks up dirt, spills, and moisture like a sponge. Over time, it turns from white to gray, brown, or even black. Gross, right?
Many people make things worse by using harsh cleaners. These can eat away at the grout or discolor your tiles. Some methods even cause permanent damage.
I’ve learned this the hard way. After ruining a bathroom floor with the wrong cleaner, I figured out safer ways. The methods I’ll share work better than harsh chemicals. Plus, they won’t cost you a fortune in repairs.
Ready to get your grout looking fresh again? Let’s start.
What Causes Grout to Get So Dirty?
Your grout faces daily attacks from multiple sources. Understanding these helps you clean better.
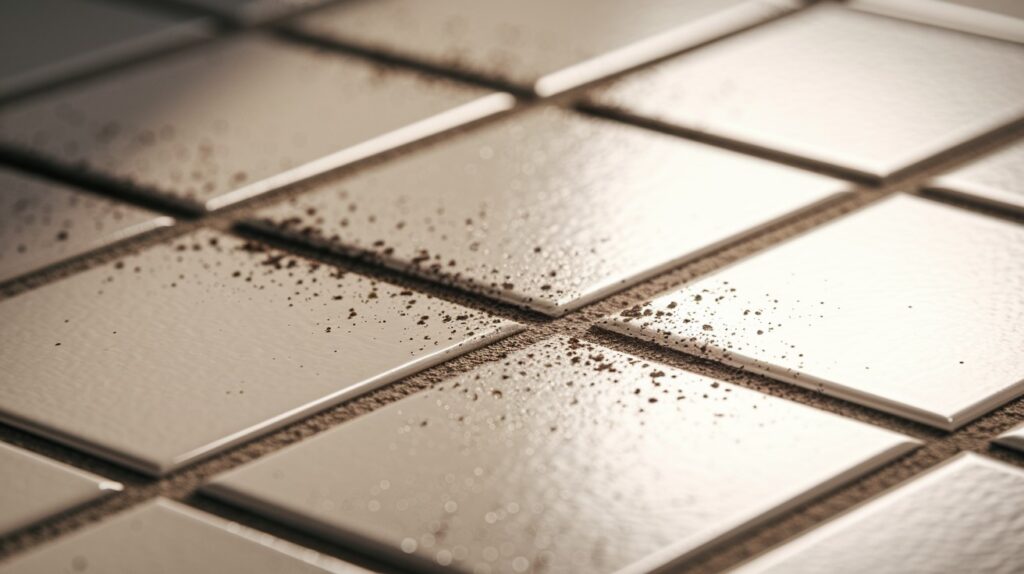
Every day, dirt and spills: Work their way into grout lines. Foot traffic grinds this dirt deeper. Coffee spills, food drops, and muddy shoes all leave their mark.
Moisture and mold buildup: Happen in humid areas. Bathrooms are the worst offenders. Mold loves dark, damp grout lines. Once it takes hold, it spreads fast.
Soap scum in bathrooms: Combines with hard water minerals. This creates a sticky film that traps more dirt. Body oils and hair products make it even worse.
Cooking grease in kitchens: Splatters during meal prep. It lands on the backsplash grout and hardens over time. Steam from cooking carries grease particles to the ceiling grout, too.
Each of these issues requires a slightly different approach. But the good news? You can handle all of them safely.
Common Mistakes That Damage Grout
I see these mistakes all the time. They seem logical, but cause real damage.
Using acidic cleaners tops the list. Vinegar and lemon juice sound natural and safe. But they eat away at grout and natural stone tiles. What looks clean now becomes damaged later.
Scrubbing with metal brushes scratches and gouges the grout. Wire brushes remove stains by removing the grout itself. You’ll end up with rough, uneven lines that collect dirt faster.
Using steam too frequently can loosen grout over time. Steam cleaners work great occasionally. But daily use softens the grout and makes it crumble.
Overuse of bleach or harsh chemicals breaks down the grout structure. Bleach also discolors colored grout. Too much chlorine makes grout brittle and prone to cracking.
The pattern here? Aggressive methods cause long-term problems. Gentle approaches work better and last longer.
Essential Tools & Ingredients for Safe Grout Cleaning
You probably have most of these items already. No fancy equipment needed.
Tools you’ll need:
- Soft-bristle brush or old toothbrush
- Spray bottle
- Clean cloths or paper towels
- Vacuum or broom
Safe cleaning ingredients:
- Baking soda (works on almost everything)
- Hydrogen peroxide (great for whitening)
- Dish soap (cuts through grease)
- Oxygen bleach (safer than chlorine bleach)
Optional extras:
- Rubber gloves
- Knee pads for floor work
- Small bucket for mixing
The key is using the right combination. Baking soda provides gentle scrubbing power. Hydrogen peroxide breaks down stains without damage. Dish soap helps everything work better.
Avoid anything with acid, chlorine, or ammonia. These cause more problems than they solve.
Step-by-Step: How to Clean Grout Without Damaging It
This method works for most grout types and stains. Take your time with each step.
Step 1: Prep the Area
Start with a clean surface. Sweep or vacuum to remove loose dirt and debris.
Wipe down the tiles with a damp cloth. This removes surface grime that could interfere with cleaning.
Check for any loose or cracked grout. Mark these spots to avoid scrubbing them too hard.
Step 2: Make a Safe Cleaning Paste
Mix baking soda with either water or hydrogen peroxide. Use just enough liquid to make a thick paste.
For light stains, baking soda + water works fine. For tougher stains, baking soda + hydrogen peroxide packs more punch.
Make small batches. The paste works best when fresh.
Step 3: Apply and Let It Sit
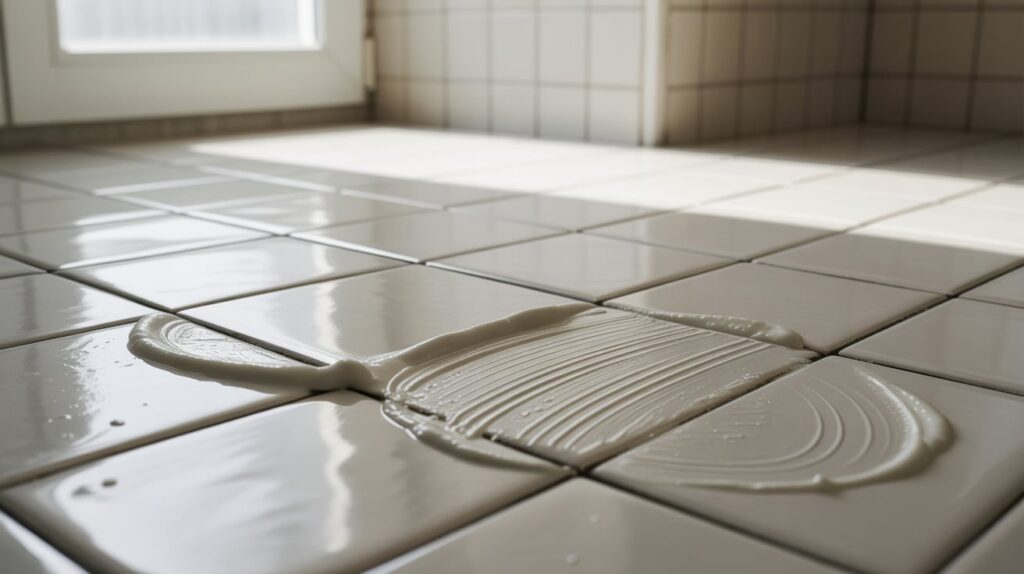
Spread the paste over grout lines using your finger or a small brush. Don’t worry about getting it on tiles.
Let it sit for 10-15 minutes. This gives the cleaner time to break down stains. Don’t let it dry completely.
For really stubborn spots, cover with plastic wrap to keep the paste moist longer.
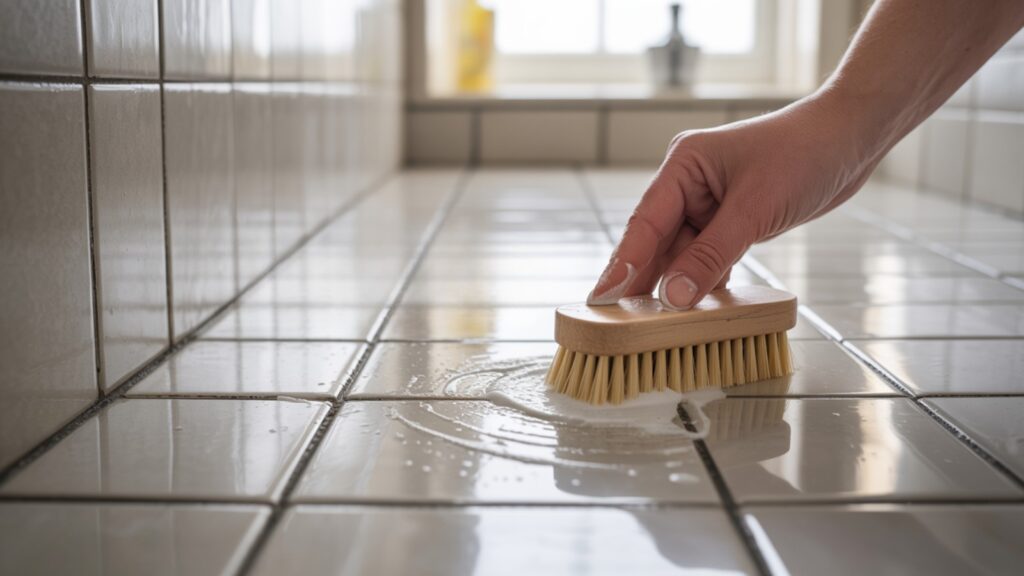
Step 4: Gently Scrub
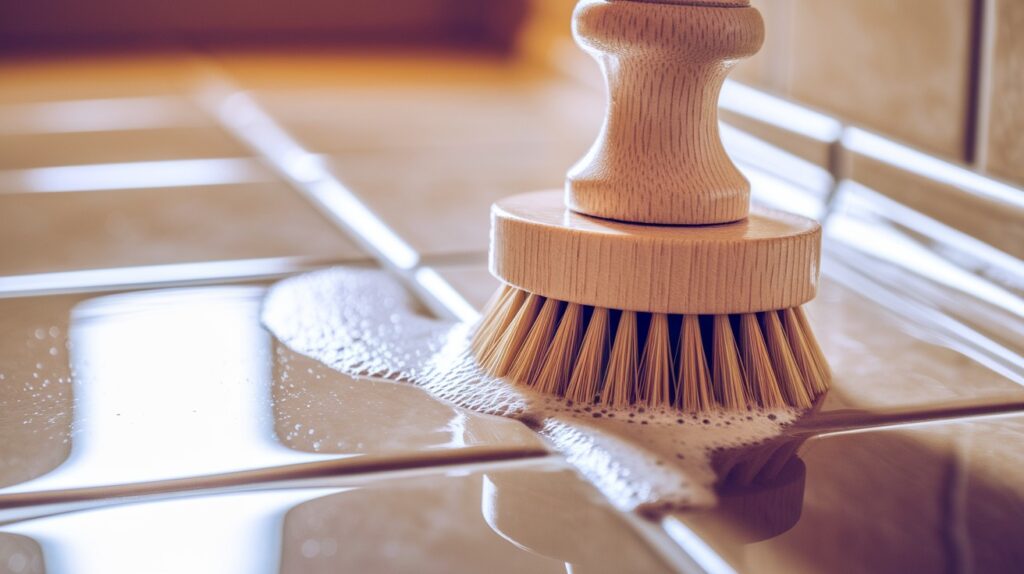
Use a soft brush to scrub in small circular motions. Apply light pressure and let the cleaner do the work.
Start at one end and work systematically. This prevents missing spots.
If stains persist, reapply the paste and wait longer. Don’t scrub harder.
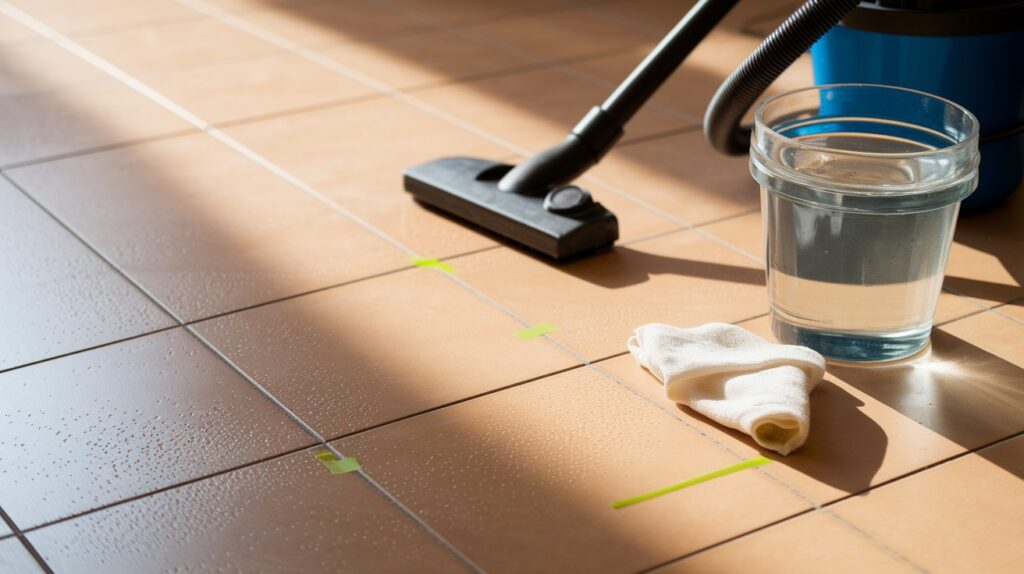
Step 5: Rinse and Wipe
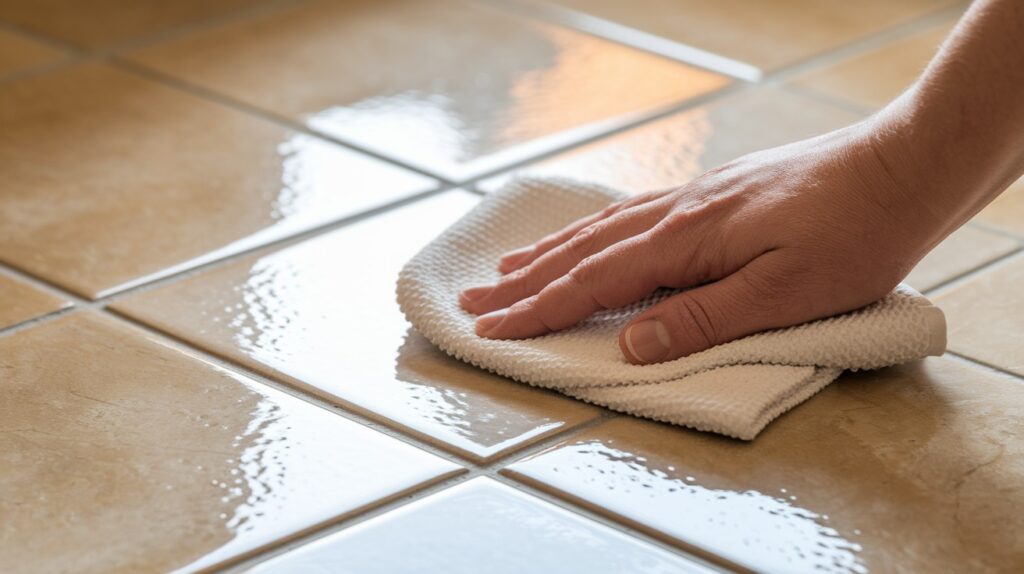
Wipe away the paste with a damp cloth. Rinse thoroughly to remove all residue.
Leftover cleaning paste can attract new dirt. Make sure you get it all.
Dry the area with a clean cloth if possible. This prevents water spots and speeds up the process.
Extra Tip: Sealing Grout for Long-Term Protection
Grout sealant acts like a protective barrier. It keeps dirt and moisture from soaking in.
- Creates an invisible shield over grout lines
- Makes liquids bead up instead of soaking in
- Apply every 1-2 years for most areas
- High-traffic spots need yearly treatment
- Clean grout thoroughly before sealing
- Let dry completely for 24 hours
- Apply with a small brush
- Wipe excess off tiles right away
- Allow to cure per the manufacturer’s directions
This step prevents most future staining. It’s worth the small investment.
Natural Alternatives for Regular Upkeep
- Mix water and white vinegar for weekly cleaning (not on natural stone)
- Sprinkle baking soda on damp grout with dish soap for a quick refreshing
- Add tea tree oil to cleaners for mold prevention
- Squeegee shower walls after each use
Regular maintenance beats heavy scrubbing every time.
When to Call a Professional
- Stains that won’t come out after multiple cleaning attempts
- Cracked or crumbling grout that needs replacement
- Mold that keeps returning despite regular cleaning
- Large areas with severely discolored grout
Get quotes from several contractors before deciding.
Conclusion
Cleaning grout doesn’t require harsh chemicals or back-breaking scrubbing. The right approach makes all the difference.
Remember the basics: gentle tools, safe ingredients, and consistent care. Baking soda and hydrogen peroxide handle most stains without damage. Soft brushes protect grout while still getting it clean.
Prevention beats cure every time. Seal your grout regularly and clean up spills quickly. These small steps save major headaches later.
Start with one small area to test the method. Once you see how well it works, you’ll want to clean all your grout. Your tiles will look better and last longer. Most importantly, you’ll avoid expensive repairs from using the wrong methods.
Give these techniques a try. Your grout will thank you.
Frequently Asked Questions
Can I use bleach on colored grout?
No. Chlorine bleach will discolor or fade colored grout. Use oxygen bleach instead, which is color-safe and gentler. Always test any cleaner in a small, hidden area first.
How often should I clean my grout?
Light cleaning weekly, deep cleaning monthly for high-use areas. Bathrooms need more frequent attention than bedrooms. Kitchen backsplashes should be wiped down after cooking.
Is it safe to use vinegar on all tile types?
No. Avoid vinegar on natural stone tiles like marble, granite, or travertine. It can etch and damage these surfaces permanently. Check with your tile manufacturer if you’re unsure about your specific tiles.
What if my grout is too far gone to clean?
Consider grout renewal products or professional regrouting. Sometimes replacement is more cost-effective than repeated cleaning attempts. Professional assessment can help you decide the best course of action.
Can I prevent grout from getting dirty in the first place?
Yes. Apply grout sealant every 1-2 years, clean spills immediately, and maintain good ventilation in humid areas like bathrooms. Good lighting also helps you spot problems before they get worse.