
Your porch deserves more than a plain ceiling! I’ve seen too many beautiful outdoor spaces fall flat because of boring overhead views.
The good news? You don’t need thousands of dollars to create a pretty look above your head.
Today, I’m sharing nine budget-friendly ceiling ideas that fool everyone into thinking you spent big money. These aren’t just cheap fixes, they’re smart solutions that add real style and value to your home.
Most of these projects take just a weekend. Some cost under $100. All of them will make your neighbors ask, “Who did your ceiling work?”
Ready to convert your porch without breaking the bank? Let’s get started.
Why Upgrade Your Porch Ceiling?

Your ceiling sets the entire mood for your outdoor space. Look up right now – what do you see? If it’s plain drywall or exposed beams, you’re missing a huge opportunity.
A well-designed ceiling draws the eye upward. It makes your porch feel larger and more finished. Your guests will notice the difference immediately.
Here’s what a ceiling upgrade does:
- Boosts your home’s curb appeal instantly
- Increases property value with minimal investment
- Creates a focal point that ties your whole porch together
- Gives you a weekend project with major visual impact
Most ceiling projects are beginner-friendly. You don’t need special tools or years of experience.
9 Inexpensive Porch Ceiling Ideas That Look High-End
Upscale your plain porch ceiling into a pretty focal point without spending a fortune. These nine budget-friendly ideas use affordable materials like beadboard, painted plywood, and faux tin tiles to create expensive-looking results.
1. Beadboard Panels
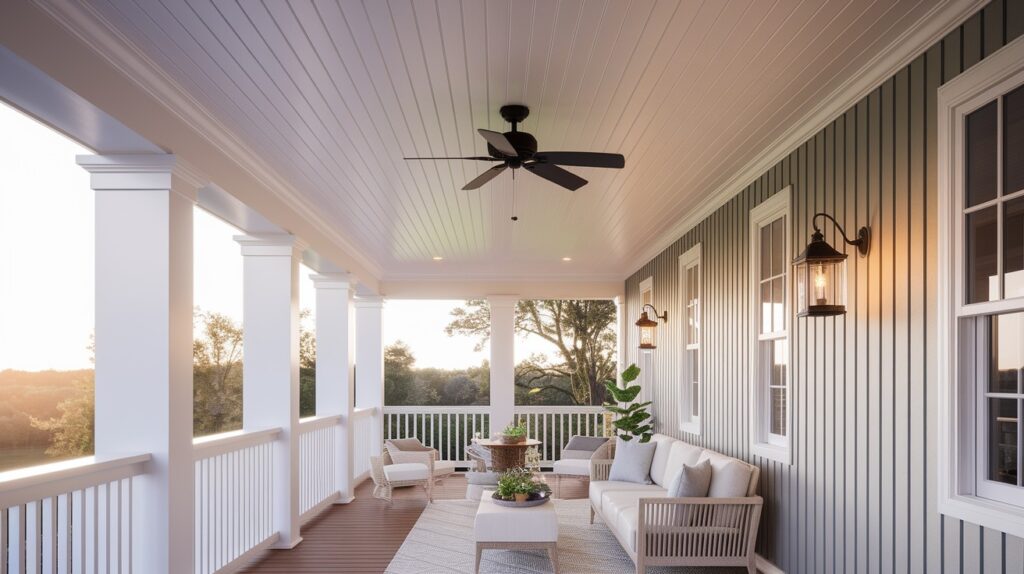
Beadboard never goes out of style. This classic option costs around $1-3 per square foot and installs easily with basic tools.
The vertical grooves add instant texture and charm. Paint it crisp white for a clean coastal look. Or try sage green for something unexpected.
Installation tip: Use a nail gun if you have one. It speeds up the process and creates cleaner lines than hand-nailing.
Beadboard works especially well on covered porches. It gives that Southern hospitality vibe that makes everyone feel welcome.
2. Painted Plywood Sheets
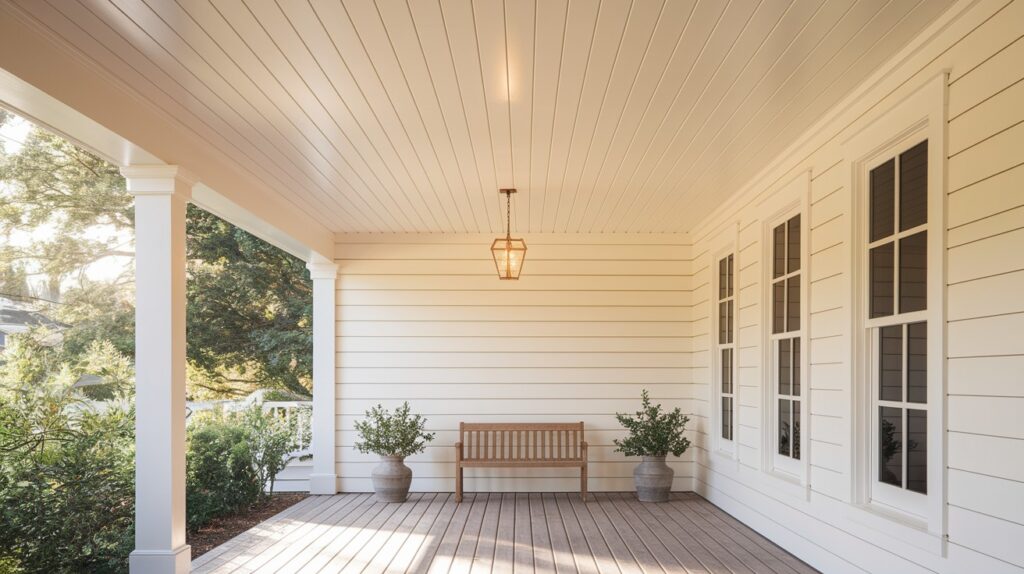
Don’t overlook plywood, it’s your secret weapon for smooth, professional-looking ceilings. A 4×8 sheet of exterior-grade plywood costs about $30-50.
Choose plywood with a smooth face. Sand lightly, prime, then paint with high-quality exterior paint. The result looks like custom millwork.
Pro trick: Score lines into the plywood before painting. This creates a faux shiplap effect that fools everyone.
Make sure you use exterior-grade materials. Regular plywood will warp and fail in outdoor conditions.
3. Faux Tin Ceiling Tiles

These lightweight tiles give you vintage charm without vintage prices. Real tin ceilings cost thousands. Faux versions start around $2 per square foot.
Modern faux tin tiles are made from PVC or aluminum. They’re weather-resistant and incredibly easy to install. Many come with peel-and-stick backing.
The patterns range from simple geometric designs to ornate Victorian styles. Choose based on your home’s architecture.
Installation is straightforward. Start from the center and work outward. No special tools required.
4. Wood Plank Look with Peel-and-Stick Vinyl
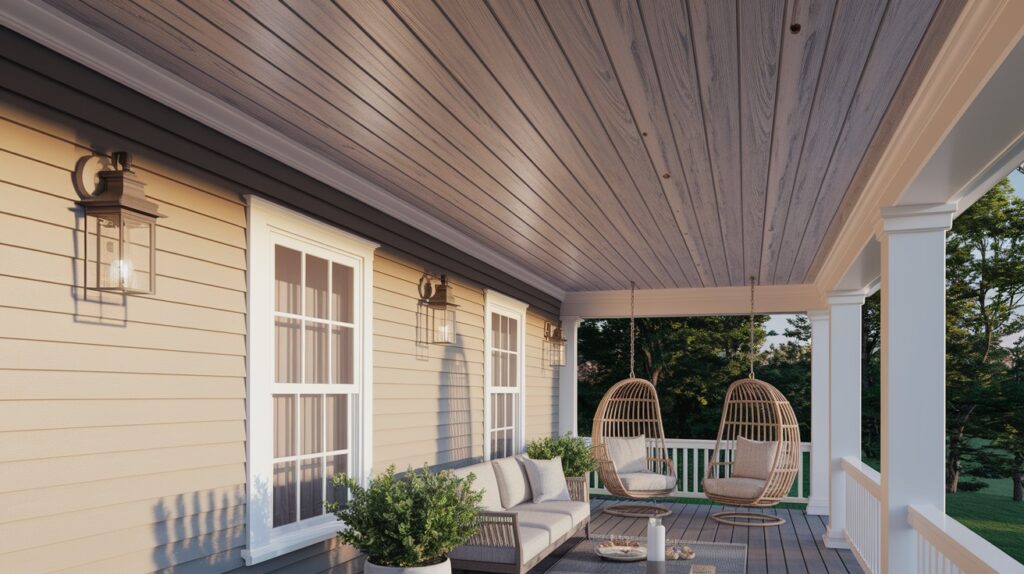
This option is perfect for renters or anyone wanting the wood look without the weight. Quality vinyl planks cost $1-4 per square foot.
Modern vinyl planks look remarkably realistic. The texture mimics real wood grain. Colors range from weathered gray to rich walnut.
These planks are completely waterproof. They won’t warp, crack, or fade like real wood. Installation is simple, just peel and stick.
Bonus: If you move, these planks remove cleanly without damage.
5. Stained Pallet Wood
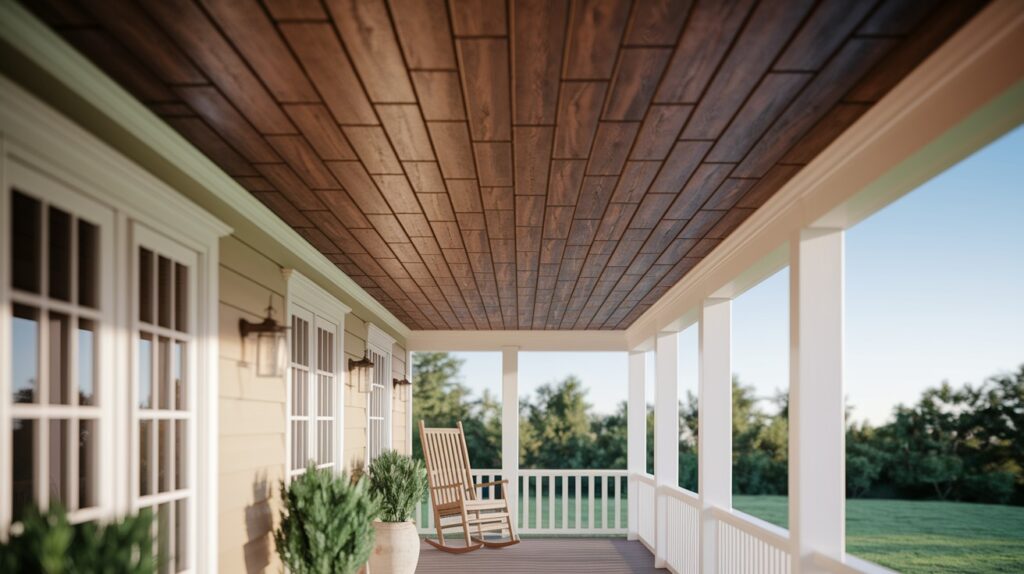
Free materials make this the ultimate budget option. You’ll only pay for stain and hardware – usually under $50 total.
Start by sourcing clean pallets. Avoid any marks with chemicals or treated wood stamps. Sand thoroughly to remove splinters and rough spots.
Safety first: Always check pallet origins. Some are treated with harmful chemicals.
Stain brings out the natural wood character. Dark walnut gives a rich, expensive look. Natural stain keeps the rustic charm.
6. Painted Stripes or Patterns

Sometimes the simplest ideas make the biggest impact. A few cans of paint can completely transform your ceiling.
Horizontal stripes make your porch feel wider. Vertical stripes add height. Diagonal stripes create dynamic energy.
Use painter’s tape for crisp lines. Remove the tape while the paint is still slightly wet for the cleanest edges.
Color combinations that work:
- White and soft gray
- Cream and sage green
- Navy and white
- Charcoal and light blue
7. Corrugated Metal Sheets
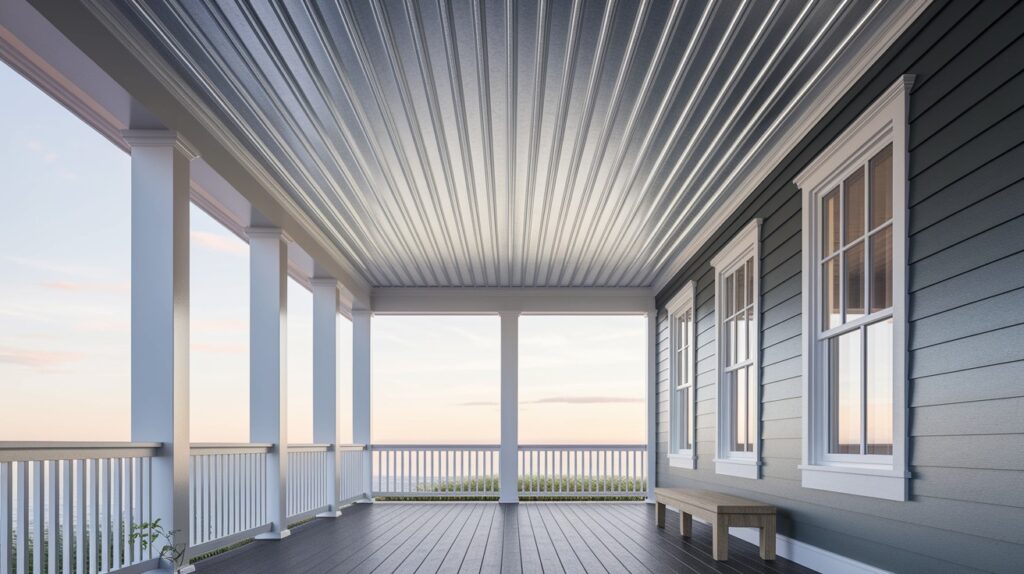
This industrial look costs just $2-4 per square foot. The metal reflects light beautifully and adds interesting texture.
Galvanized steel works well for most climates. For coastal areas, choose aluminum to prevent rust. Both materials are lightweight and easy to work with.
The linear pattern makes spaces feel larger. It also hides imperfections in the existing ceiling structure.
Installation requires metal screws and a drill. Pre-drill holes to prevent splitting or cracking.
8. Lattice Panels
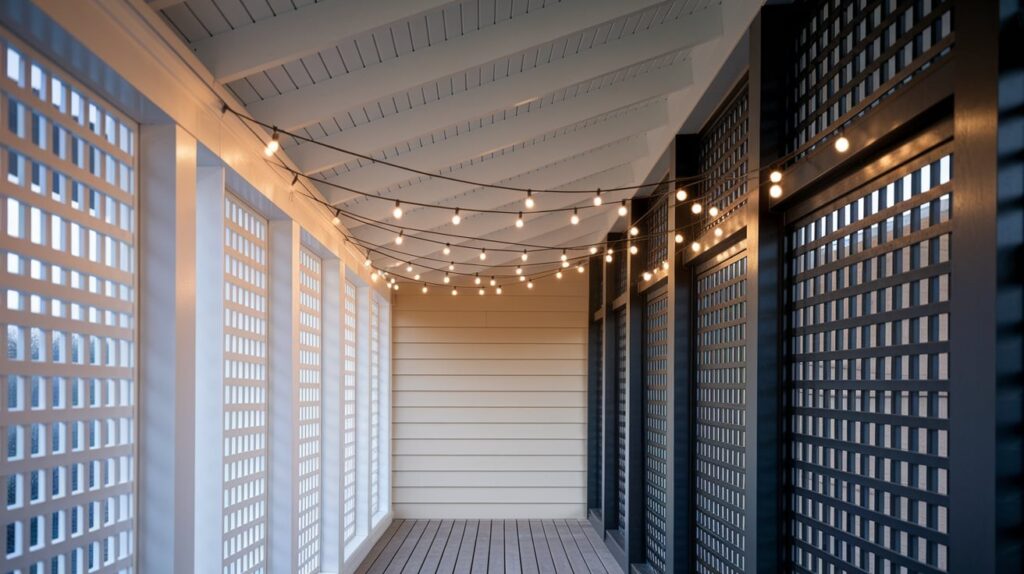
Lattice creates an open, airy feeling while hiding ceiling flaws. Standard panels cost $10-20 each at home improvement stores.
White lattice gives a clean, traditional look. Black lattice creates a dramatic contrast and modern appeal.
The open design allows air circulation, important for covered porches. You can also weave string lights through the openings for a magical evening ambiance.
Installation tip: Use furring strips to create space between the lattice and the ceiling. This prevents moisture problems.
9. Bamboo or Reed Roll-Out Panels
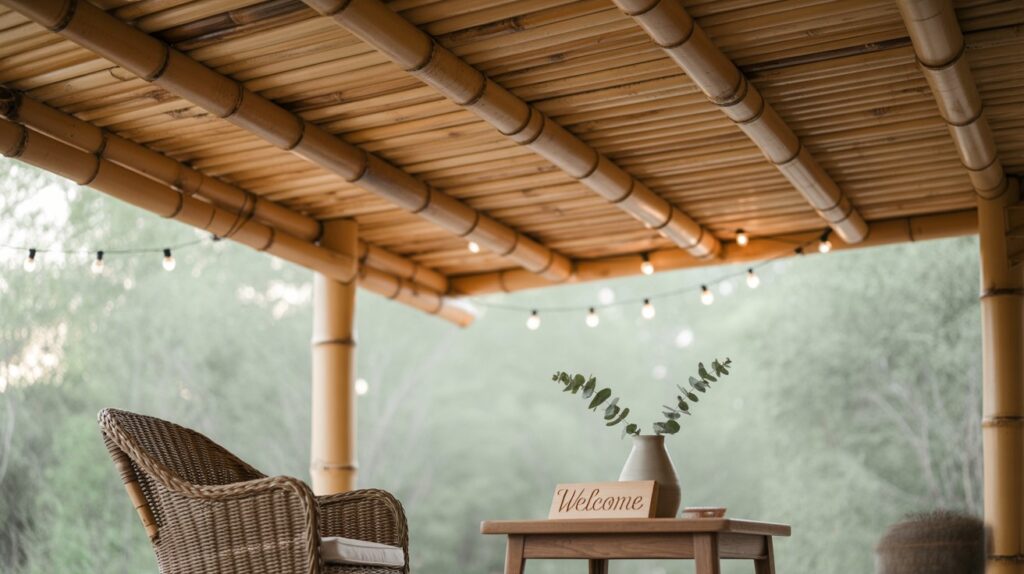
These natural materials bring instant spa-like calm to your porch. Roll-out panels cost $20-40 per 100 square feet.
Bamboo works well in most climates. Reed panels suit drier areas better. Both install quickly with staples or small nails.
The natural texture pairs beautifully with string lights. It also complements plants and natural wood furniture.
Maintenance note: These materials may need replacement every 3-5 years, depending on weather exposure.
Tips for Choosing the Right Ceiling Idea
Your ceiling should work with your home’s overall look. Here are simple guidelines to help you choose:
- Match your home’s style. Traditional homes work well with classic materials. Modern homes can handle bolder choices
- Think about your local weather. Wet climates need water-resistant options. Hot areas benefit from heat-reflecting materials.
- Consider your skill level. Some projects need more experience than others. Start simple if you’re new to DIY.
- Plan your budget carefully. Include materials, tools, and any help you might need. Add 10% extra for unexpected costs.
- Think about upkeep. Some materials need regular cleaning or touch-ups. Others are nearly maintenance-free.
- Consider the ceiling height. Low ceilings need light colors and simple patterns. High ceilings can handle darker or busier designs.
- Plan for lighting needs. Will you add fans or fixtures later? Choose materials that work with your electrical plans
- Test small areas first. Try paint colors or material samples before committing to the whole ceiling.
- Don’t rush the decision. Live with samples for a few days. See how they look in different lighting conditions.
Conclusion
A stylish porch ceiling doesn’t require a massive budget or professional installation. With the right materials and a weekend of work, you can create a space that looks professionally designed.
I’ve seen homeowners transform their porches for under $200. The key is choosing materials that match your style and climate needs.
Don’t be afraid to mix ideas either. Combine beadboard with painted accents. Add string lights to bamboo panels. The best designs often blend multiple elements.
Start with one section if a full ceiling feels overwhelming. You can always expand the design later.
What matters most is creating a space you love spending time in. Your porch ceiling is the perfect place to add personality without major expense.
Ready to get started? Pick your favorite idea and make this weekend count.
Frequently Asked Questions
How much should I budget for a porch ceiling makeover?
Most DIY ceiling projects cost $50-300, depending on size and materials. Pallet wood can cost under $50, while faux tin tiles might reach $300 for a large porch.
Can I install these materials myself?
Yes! All these options are DIY-friendly. Basic tools like a drill, saw, and level are usually sufficient. Most projects take 1-2 weekends to complete.
What’s the most durable option for harsh weather?
Corrugated metal and painted plywood offer the best weather resistance. Both handle temperature changes, moisture, and UV exposure better than natural materials.
Do I need to remove my existing ceiling first?
Not always. Many materials can be installed directly over existing drywall or wood. However, damaged ceilings should be repaired or replaced first.
Which option adds the most home value?
Beadboard and painted plywood typically offer the best return on investment. They look custom and appeal to most buyers while being cost-effective to install.