
That sloping yard might seem challenging, but it’s a canvas for creativity! I’ve spent years transforming tricky hillsides into stunning landscapes without emptying my wallet.
Hillside landscaping ideas on a budget aren’t just possible, they can look more natural and charming than expensive alternatives.
My neighbors couldn’t believe the transformation when I replaced our eroding slope with terraced beds using reclaimed timber and drought-resistant natives. The secret? Working with nature instead of fighting it.
In this blog, I’ll share my hard-earned wisdom for turning your challenging hillside into your property’s most striking feature while keeping your savings intact.
Hillside Landscaping Challenges
Sloped yards present unique obstacles that flat landscapes don’t. I learned this firsthand when I bought my hillside home in Oregon. Erosion quickly washed away my first flower bed during a rainstorm.
Maintenance became a workout as I struggled to mow steep areas. Accessing different parts of my yard required careful planning. Your budget matters more on hillside projects because mistakes cost twice. I wasted $400 on plants that couldn’t handle the slope conditions. Assess your hill before spending a dime.
Check the soil type, sun exposure, and water flow patterns. Is your slope gentle or steep? Does water pool anywhere? Knowing these answers will save you money and frustration. Which part of your hillside gives you the most trouble right now?
10 Budget-Friendly Hillside Landscaping Ideas
Transforming your hillside doesn’t require a fortune. I’ve tested these solutions on my property and ranked them by cost and complexity. Each option addresses common slope issues while staying wallet-friendly.
1. Erosion-Control Ground Cover Plants ($50-200 | Easy)
I transformed my eroding hillside with creeping thyme and sedum. These plants grip the soil with their roots and spread quickly. Your slope will soon display a carpet of color that holds dirt in place.
Choose drought-resistant varieties suited to your climate. My sedum survived a three-week dry spell without help. Buy small starter plants and space them according to growth patterns.
How to do it: Clear the area of weeds. Plant ground covers 12-18 inches apart. Water regularly for the first month. Add mulch between plants until they fill in. Look for end-of-season sales at local nurseries for the best deals.
2. Affordable DIY Stone Steps ($100-300 | Moderate)
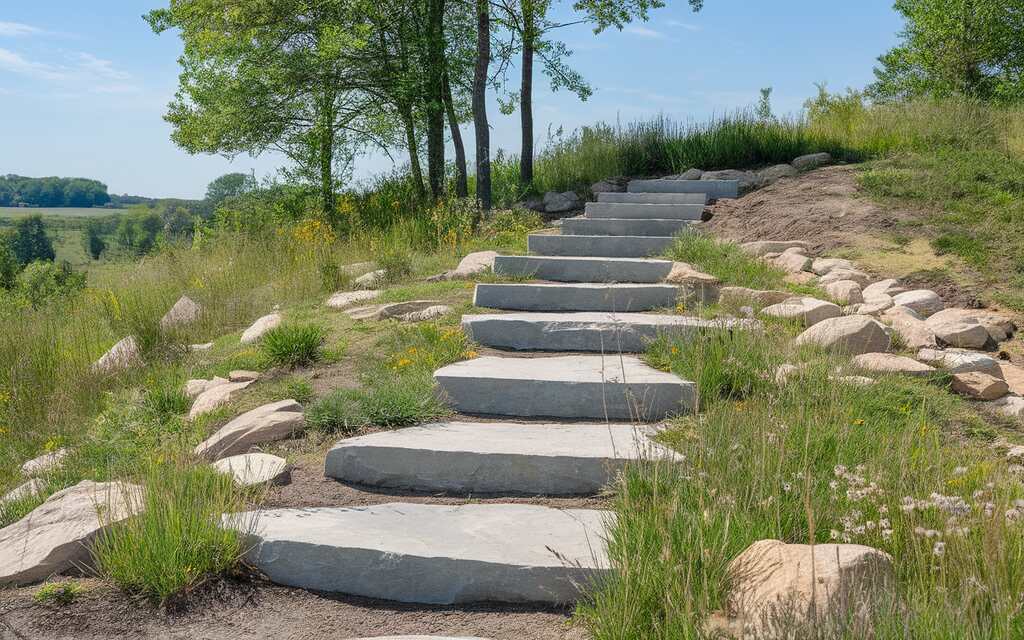
Reaching the top of my slope became simple after I built stone steps. They provide safe access and double as an attractive focal point. Your guests will comment on these rustic, practical additions.
Flat stones from a landscape supply store cost less than pre-cut pavers. I spent $240 for materials that would have cost $600 using commercial products.
How to do it: Mark your path with stakes and string. Dig a level shelf for each step. Position the flattest side of each stone upward. Fill gaps with smaller stones or gravel. Test each step before moving to the next. Build from the bottom up.
3. Low-Cost Mulch Pathways ($75-150 | Easy)
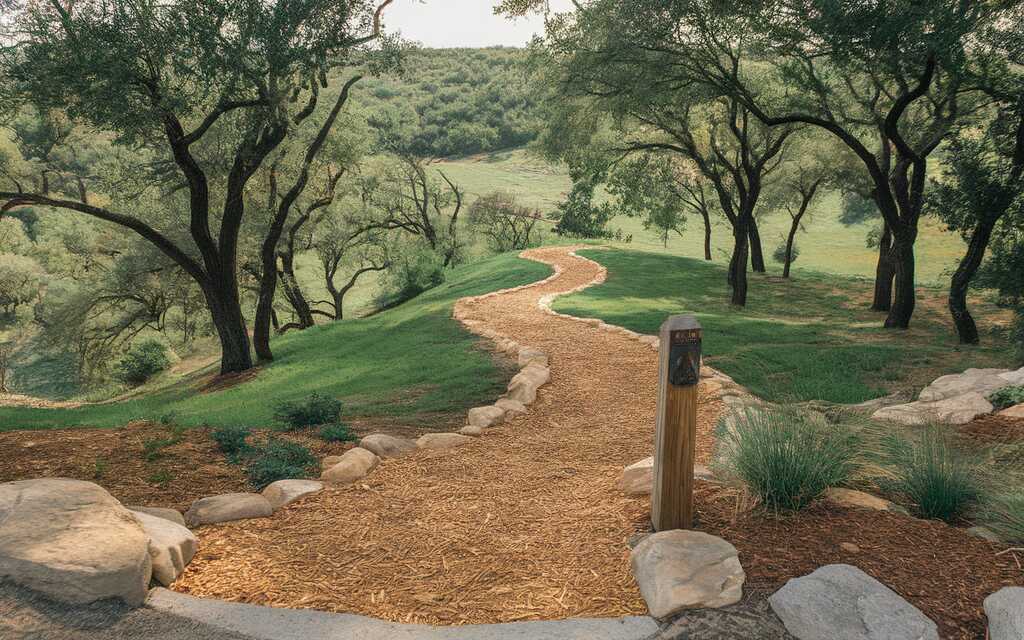
Mulch paths cut across my hillside like brown ribbons. They define garden spaces and prevent soil compaction. Your feet stay clean while you maintain your slope.
Wood chips break down over time, feeding the soil. My paths need refreshing every two years, costing about $40 each time.
How to do it: Clear a 2-3 foot wide path. Lay down cardboard to block weeds. Add 3-4 inches of mulch on top. Define edges with rocks or plants. Check with tree services for free chips. County compost facilities often sell mulch at discount prices.
4. Budget Terracing with Timber ($200-500 | Moderate-Hard)
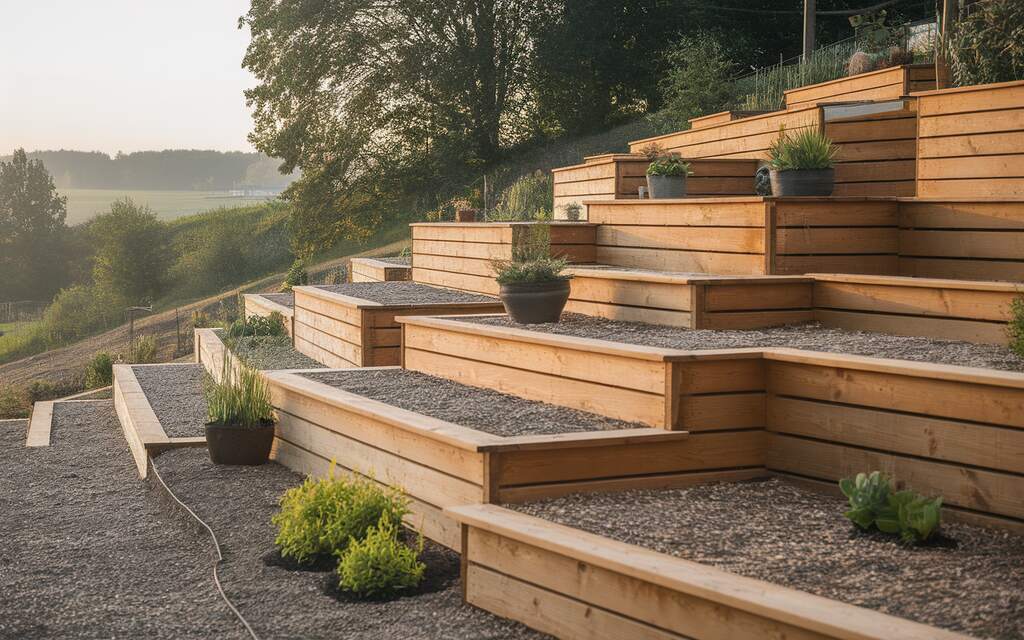
I created flat planting areas on my 30-degree slope using pressure-treated lumber. Each terrace holds different plants and stops erosion. Your hillside becomes a series of manageable gardens.
My three terraces cost $350 and took two weekends to complete. They’ve lasted seven years with minimal maintenance.
How to do it: Draw your design on paper first. Dig a level trench for the first timber. Secure it with rebar driven through pre-drilled holes. Stack and secure additional timbers. Backfill with soil. Start small with one or two terraces before expanding.
5. Economical Native Plant Gardens ($150-400 | Easy)
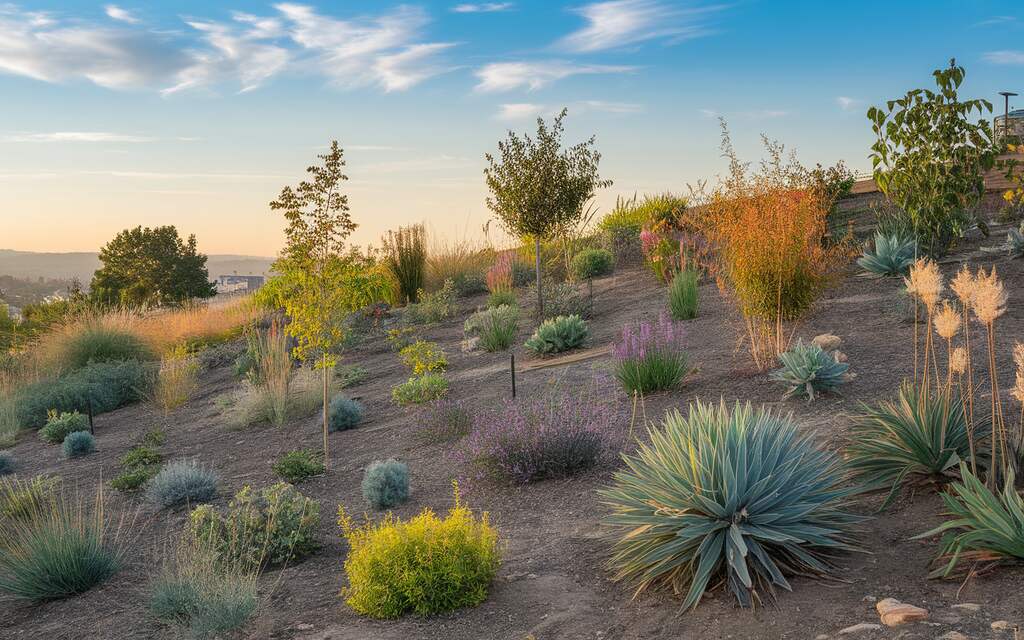
Local plants thrive on my hillside without special care. They evolved for your specific conditions and attract beneficial wildlife. Your maintenance chores decrease while beauty increases.
My black-eyed Susans and purple coneflowers return yearly without replanting. They survived weather extremes that killed exotic species.
How to do it: Research native plants for your region. Visit local native plant sales. Plant in groups of 3-5 for visual impact. Water only until established. Connect with local gardening groups for plant swaps. Many offer free divisions of established plants.
6. DIY Hillside Rain Garden ($200-300 | Moderate)
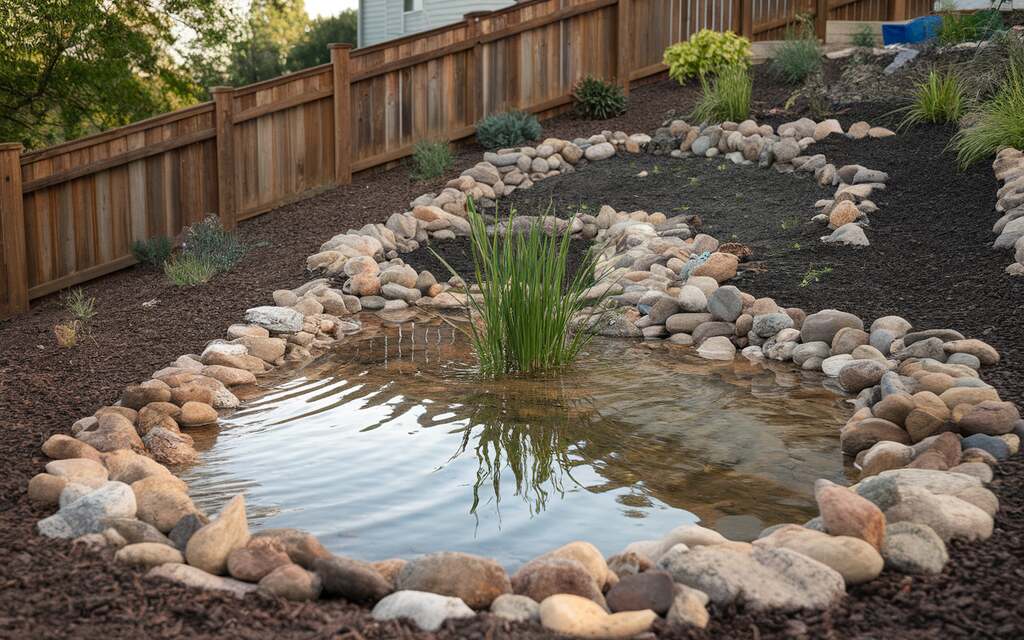
Water rushing down my slope now collects in a specially designed basin. The rain garden prevents erosion and creates habitat. Your property benefits from improved drainage while supporting local ecology.
My rain garden handles runoff from 800 square feet of hillside. It cost $275 and eliminated a persistent mud problem at the base of my slope.
How to do it: Identify where water naturally collects. Dig a depression 6-8 inches deep. Add compost to improve drainage. Plant water-tolerant natives in and around the basin. Position rocks strategically to slow water flow. Check with local conservation districts for possible rebate programs.
7. Inexpensive Hillside Rock Gardens ($100-300 | Easy-Moderate)
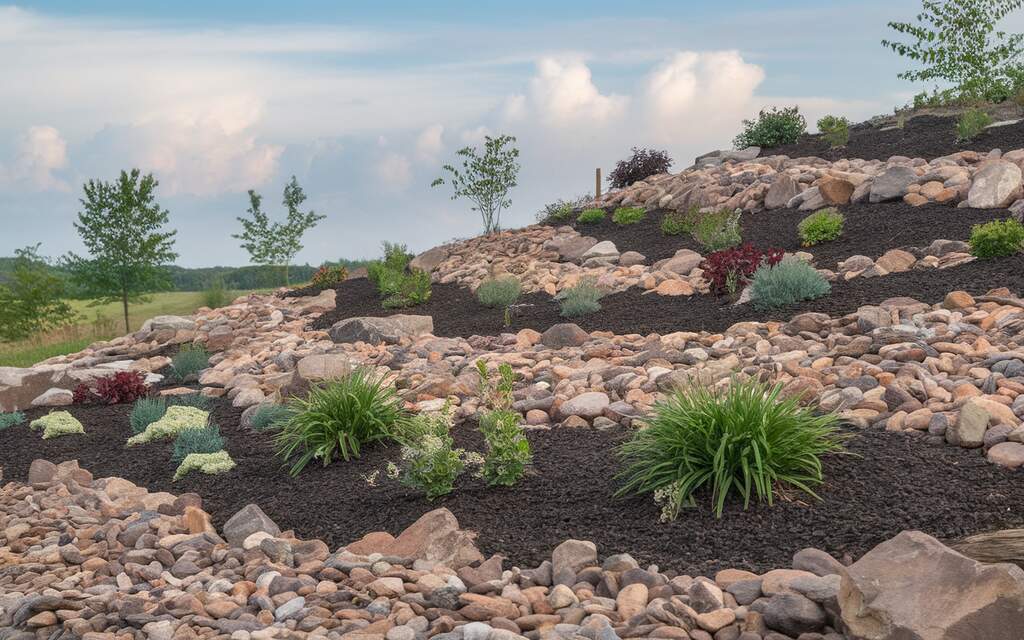
Strategically placed rocks stabilize my hillside soil. Tucked between them, alpine plants add color and texture. Your slope becomes an eye-catching display that requires little water.
I collected rocks from my property and added purchased specimens for variety. The total cost reached $180, mainly for specialty stones and plants.
How to do it: Start with larger rocks as anchors. Position them partially buried for stability. Add smaller rocks around them. Plant drought-resistant species between rocks. Consider succulents, herbs, and alpine perennials. Source rocks from construction sites or local quarries for savings.
8. Affordable Slope Retaining Walls ($50-200 | Moderate)
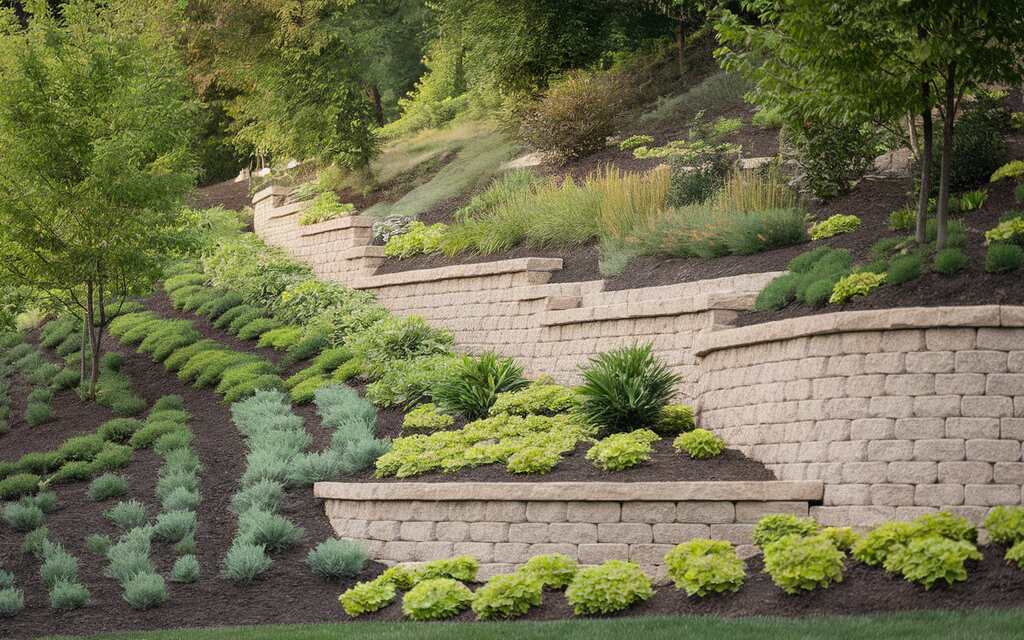
I built small retaining structures using stones cleared from my yard. These walls hold soil in place and create planting pockets. Your slope gains character while solving practical problems.
My neighbor paid $2,000 for a professional wall. My DIY version cost $75 for cement and performs the same function.
How to do it: Collect uniform materials like stones, urbanite (broken concrete), or logs. Dig a level trench 6 inches deep. Create a base layer with gravel for drainage. Stack materials with a slight backward tilt. Keep walls under 2 feet tall for safety and simplicity. Check online marketplaces for free materials from renovation projects.
9. Budget-Friendly Cascading Planters ($75-250 | Easy)
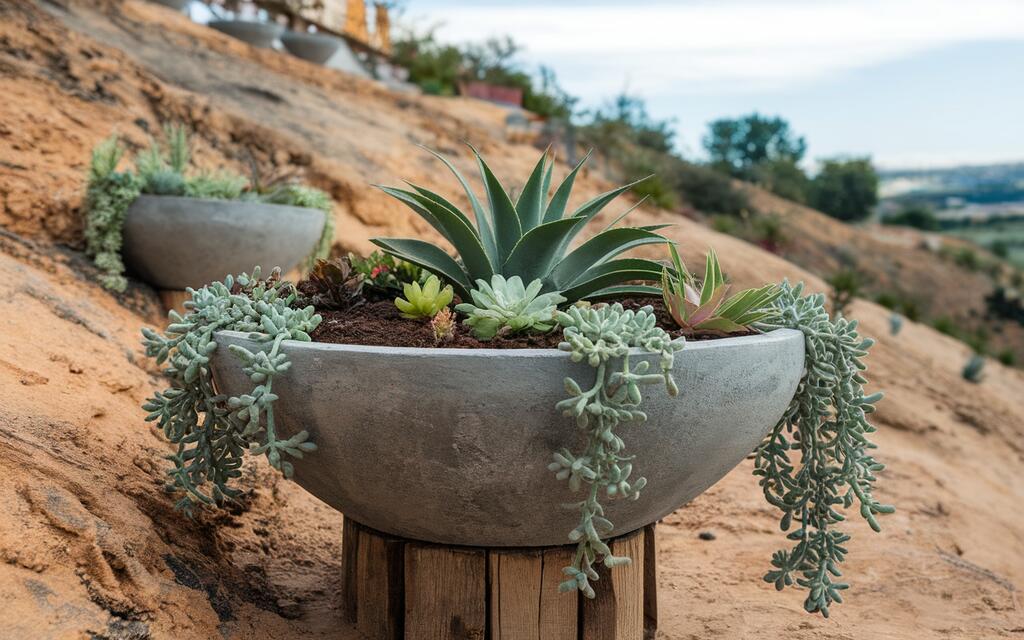
Tiered containers spill flowers down my slope like a waterfall. They add instant color and require no digging. Your difficult hillside transforms into a vertical garden.
I repurposed old buckets and half-barrels as planters. Paint and drainage holes made them functional and attractive for under $100.
How to do it: Place larger containers at the bottom, smaller ones above. Ensure each has drainage holes. Fill with lightweight potting mix. Plant trailing varieties at edges and upright plants in centers. Connect containers to prevent sliding. Thrift stores and restaurant supply businesses often sell food-grade buckets cheaply.
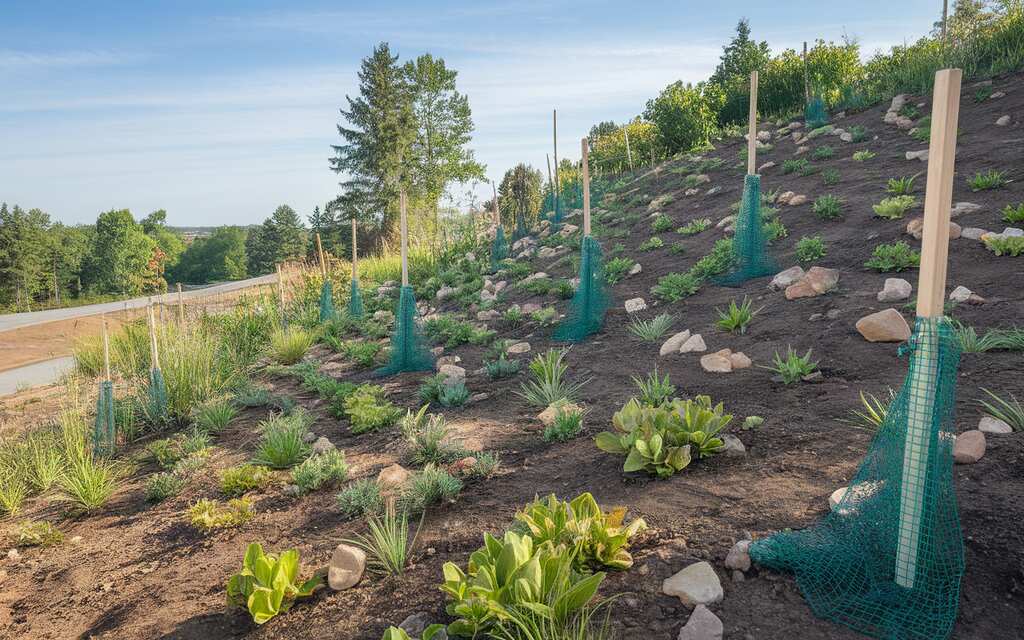
10. Cost-Effective Hillside Tree Planting ($150-400 | Easy)
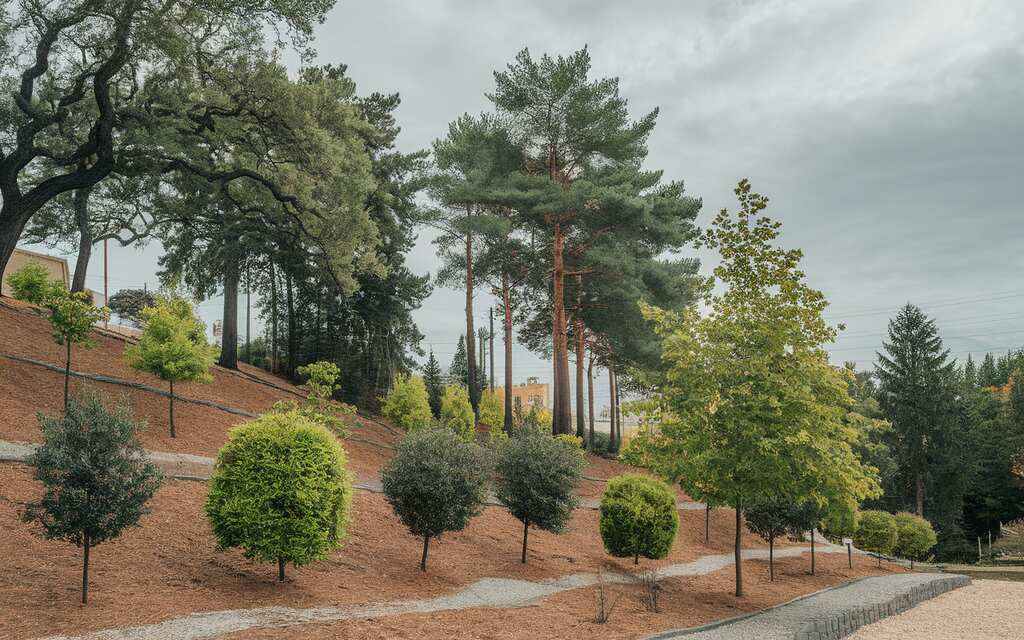
Young trees anchor my hillside with expanding root systems. They provide shade and wildlife habitat. Your slope gains value with each passing year as trees mature.
I planted five bare-root saplings for $180 total. After four years, they’ve grown into specimen trees worth ten times that amount.
How to do it: Select varieties suited to slopes and your climate. Plant during the dormant season for best results. Dig holes twice as wide as root balls. Position trees slightly higher than the surrounding soil to prevent root rot. Stake young trees until established. Check with local forestry departments for free or low-cost native tree programs.
Budget-Friendly Terracing Options
I transformed my 45-degree backyard slope with $200 worth of pressure-treated lumber. These timber terraces hold soil just as effectively as stone versions that contractors quoted at $3,000. Your hillside can have the same structured look without draining your savings.
Start with one terrace this season, add another next year. My phased approach spread costs over three summers. Each 4×8 terrace used just six timbers and a bag of rebar. Have you considered how breaking your project into smaller phases might fit your budget better?
Cost-Effective Erosion Control
My neighbor’s retaining wall uses concrete chunks from a demolished sidewalk. These free materials create a sturdy barrier that looks surprisingly artistic. Your local construction sites often give away materials that would otherwise go to landfills.
I planted junipers and native grasses along my property line. Their aggressive roots now grip the soil during heavy rains. Your hillside edges need these plant barriers most. Place them where water naturally flows during storms. Did you notice where water carves paths down your slope during the last rainstorm?
Creating Functional Access Points
Simple mowed paths zigzag across my gentle slope. These grassy walkways cost nothing yet clearly mark safe walking routes. Your mower can create similar paths in under 30 minutes.
My steeper areas use a combination of $1 stepping stones placed in crushed granite. The entire 20-foot path cost $85. Your switch-back design should turn at least once every 8 feet on severe slopes.
This creates a more gradual climb that feels natural to walk. When was the last time you felt comfortable walking your entire property?
Brilliant Plant Selection for Budget Hillsides
Groundcovers as Affordable Erosion Control
I transformed my eroding hillside with creeping thyme that cost just $30 for starter plants. Three years later, it covers 200 square feet and stops soil loss completely. Your local climate has ideal candidates that spread naturally with minimal help.
My neighbor admired my results and received free divisions from my established plants. I separated clumps of sedum and ajuga during spring cleanup. Your existing garden likely contains plants ready to multiply. Have you looked for perennials that could be divided to cover your slope?
Strategic Plant Placement for Long-Term Savings
I invested in five anchor shrubs at key points on my slope. These foundation plants created immediate structure while smaller plants filled in around them. Your hillside needs these visual anchors first.
Small perennials and annuals added between these anchor points create seasonal interest. My hillside started with 60% bare soil but filled in naturally each season. Your patience with this approach can save hundreds compared to installing a fully planted landscape immediately. What focal points would work best on your property?
Low-Maintenance Plant Combinations for Different Conditions
The south-facing portion of my slope bakes in the afternoon sun. I planted lavender, yarrow, and ornamental grasses that thrive without extra water. Your hillside likely has similar hot spots where these drought-tolerant options would excel.
My slope’s shadier northern section grows ferns, hostas, and woodland wildflowers. These plants cost me $75 total as bare-root specimens four years ago. Your shaded sections can become lush without frequent watering once established. Have you mapped the sun patterns across your hillside throughout the day?
Conclusion
Your challenging slope can become your property’s best feature without breaking the bank. I spent under $1,200 transforming my hillside over three years. Start with erosion control, add access paths next season, then introduce visual elements as budget allows. My property value increased by $15,000 according to my last appraisal. Your slope offers similar potential.
The key? Choose plants suited to your specific conditions. Save receipts for plant purchases to take advantage of guarantees. Borrow tools from neighbors instead of buying. Most importantly, celebrate each completed section rather than feeling overwhelmed by the entire project. What small section will you transform first this weekend?
FAQs
How do I handle water runoff on a slope without expensive drainage systems?
Create swales, shallow ditches that follow your hillside’s contours. I built three on my property for under $100. Plant rain gardens at collection points. Use mulch to slow water flow. Strategic rock placement redirects water naturally. Have you noticed where water naturally pools after storms?
Is it possible to DIY a hillside project, or do I need professional help?
DIY-able! I tackled my 30-degree slope myself over weekends. Start with small sections. Use simple tools like a level and a tamper. Break large projects into manageable phases. Save professionals for retaining walls over 3 feet tall. What’s your comfort level with basic landscaping tasks?
What safety considerations should I keep in mind when working on a slope?
Wear shoes with good traction. I learned this after one muddy slide! Work horizontally across slopes, not up and down. Take frequent breaks. Use lightweight tools. Avoid working after rain. Create temporary footholds. Never turn your back to the slope while working.
How do I prioritize which areas to landscape first on a limited budget?
Focus on erosion hotspots first. My priority was the area washing onto my driveway. Next, create one functional path for access. Then add visual focal points near viewing areas. Leave distant sections for later phases. What area of your hillside bothers you most daily?