Choosing tile patterns used to stress me out when I started contracting. I’d stare at empty floors for hours. Which direction should the tiles go? What looks right?
After installing tiles in hundreds of homes, I learned something important. The pattern changes everything about how a room feels.
This guide shows you six patterns that actually work. I’ll help you pick the right one for your space. You’ll learn simple installation tips that prevent costly mistakes.
I’ve made every error possible with 12×24 tiles. My early projects taught me what works and what doesn’t. Your project deserves to go smoothly from day one.
Let’s find the perfect pattern for your home.
Why Choose 12×24 Tiles?
These tiles became my favorite size for good reasons.
They make rooms look bigger. The long rectangular shape creates clean lines that guide your eye across the space. Your brain sees more room than actually exists.
You get fewer grout lines to clean. Less grout means less scrubbing on Saturday mornings. It also creates a smoother, more seamless look.
They work in any room. I’ve used them in tiny powder rooms and huge open kitchens. The versatility never stops surprising me.
Installation is straightforward. You don’t need special skills or complex tools to get professional results.
The key is choosing the right pattern.
Popular 12×24 Tile Patterns
1. Straight Lay (Grid Pattern)
This pattern lines up all tiles in perfect rows and columns. Think of a checkerboard but with rectangles.
I use this pattern when clients want simplicity. It works great in small bathrooms where you don’t want visual chaos.
Start from the center of your room. Work outward in both directions. This prevents awkward slivers along the walls.
My neighbor used this pattern in her kitchen. The clean lines made her galley kitchen feel organized instead of cramped.
2. Brick Pattern (Running Bond / Subway Style)
Each row shifts by half a tile length. It looks like a brick wall lying flat on your floor.
This pattern works magic in narrow spaces. Your hallway suddenly looks wider. Your bathroom doesn’t feel like a closet anymore.
I installed this pattern in my own master bathroom. The horizontal lines pull your eye sideways instead of down at your feet.
Installation tip: Start your first row with a full tile. Begin the second row with a half tile. Keep alternating.
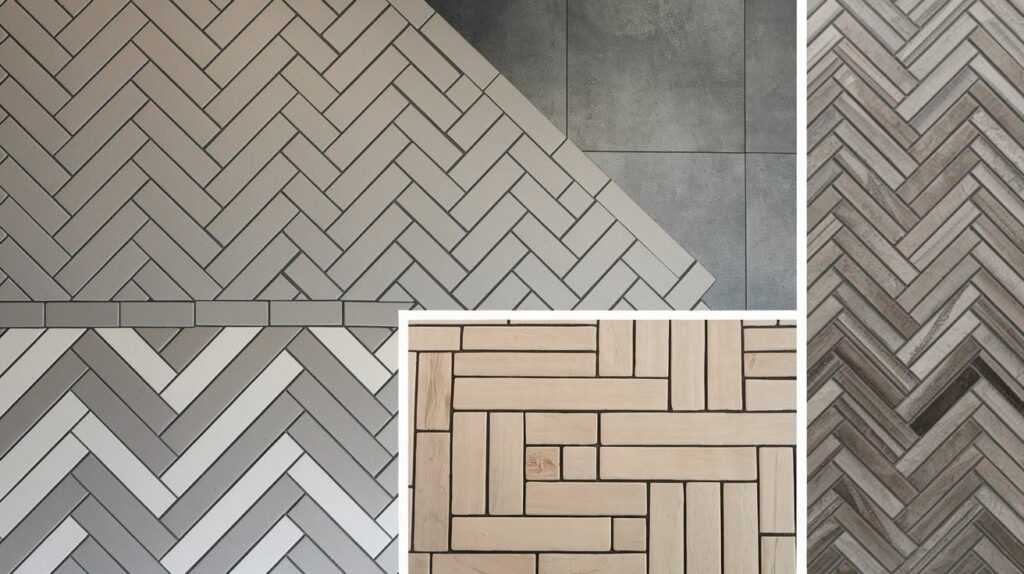
3. Herringbone Pattern
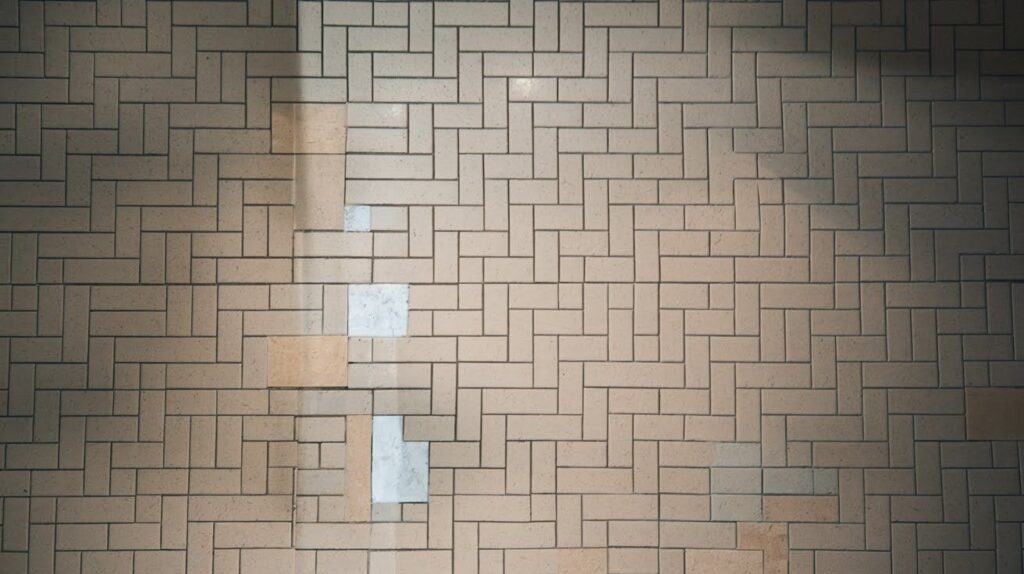
Tiles meet at 45-degree angles to create a zigzag pattern. This one takes more planning and cutting.
I save herringbone for larger spaces. In small rooms, it can feel overwhelming. Your eye doesn’t know where to rest.
Last year I used this pattern in a luxury hotel lobby. The refined look impressed everyone who walked through.
Fair warning: You’ll need about 15% extra tiles for all the angle cuts. Budget accordingly.
4. Vertical Stack Pattern
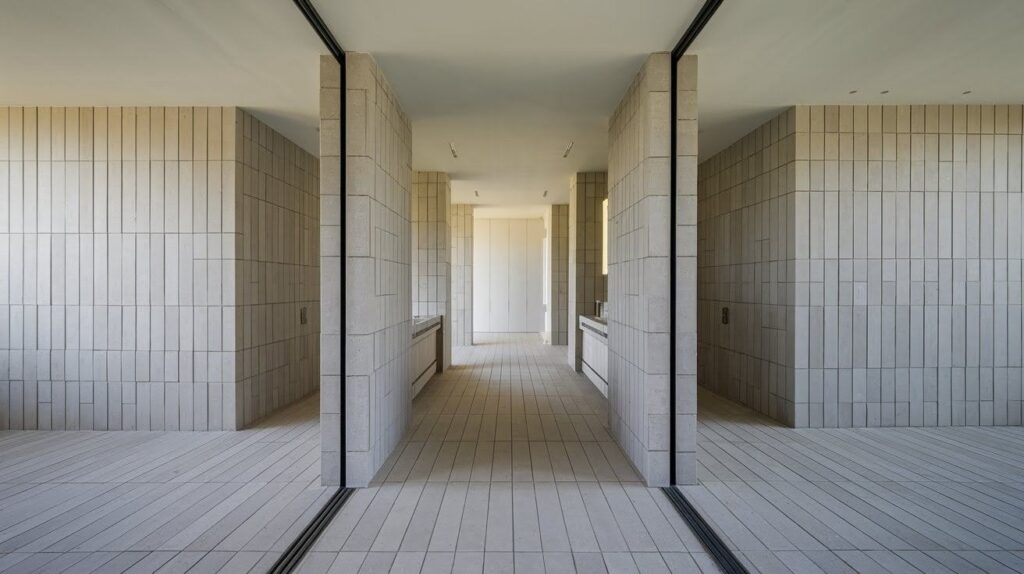
Turn your tiles sideways. Now they’re 12 inches wide and 24 inches tall instead of the other way around.
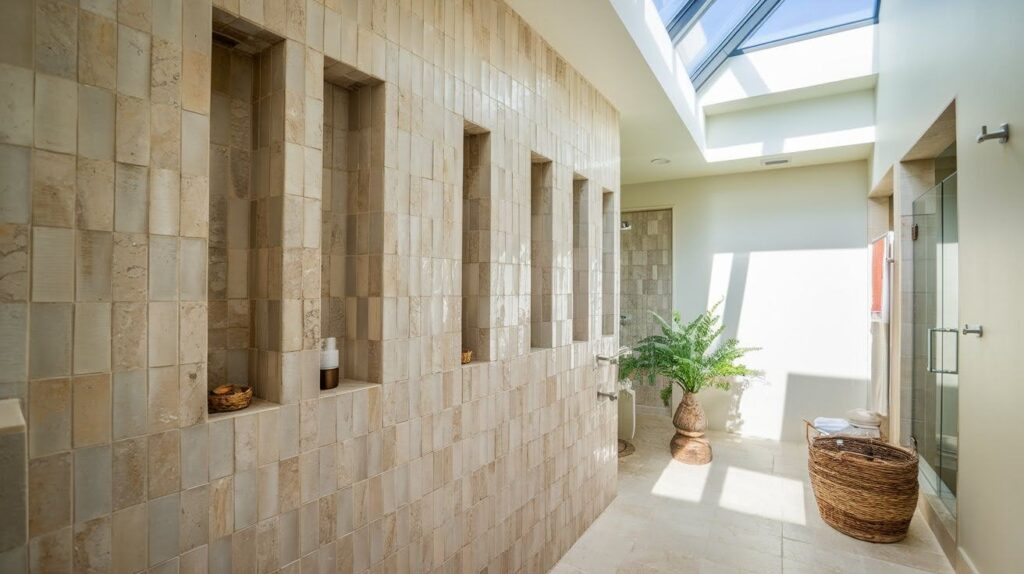
This pattern makes low ceilings feel higher. I love using it in shower surrounds where you want to draw the eye upward.
My sister’s bathroom had 8-foot ceilings that felt cramped. We installed vertical tiles and suddenly the room felt spacious.
The vertical lines create an illusion of height that really works.
5. Diagonal Pattern
Rotate everything 45 degrees. Your tiles run corner to corner across the room instead of parallel to the walls.
This pattern adds drama to boring spaces. I used it in a client’s entryway that needed more personality.
Be careful though. Diagonal patterns show imperfections easily. Your walls need to be square. Your installation needs to be precise.
Start from the center and work outward. Use chalk lines to keep everything straight.
6. Staggered / Random Offset Pattern
Instead of offsetting by exactly half, you vary the spacing. Some tiles might offset by one third. Others by two thirds.
This creates a natural, organic look. I use it when clients want something that looks like worn stone.
The randomness tricks your eye into seeing natural variation. It’s my secret for making new tiles look aged.
Plan your offsets before you start. Draw them out on paper so you don’t end up with accidental patterns.
Advanced & Creative Layout Ideas
Want to try something different? Mix patterns in the same room.
I once used a herringbone in a shower with straight lay on the floor. The contrast looked intentional and refined.
Create borders by changing direction. Run tiles one way in the center. Switch to perpendicular tiles around the edges.
Most people run 12×24 tiles with the long side horizontal. Try flipping them vertical for unexpected drama.
Here’s something I found by accident. You can mimic wood plank tile with 12×24 ceramics. Run them all the same direction like hardwood. Use minimal grout spacing. The effect fools almost everyone.
Choosing the Right Pattern for Your Space
Let me make this simple.
Small bathrooms: Straight lay or brick pattern Long hallways: Brick pattern running horizontalLow ceilings: Vertical stack Large open areas: Herringbone or diagonal Modern homes: Straight lay with matching grout Traditional homes: Brick pattern or herringbone
Walk into your space first. Look at what you’re working with.
Does it feel cramped? Choose patterns that open it up. Does it feel empty and cold? Pick patterns that add visual interest.
Trust your instincts. You know your space better than any design rule.
Installation Tips & Common Mistakes to Avoid
Start with layout lines. I always snap chalk lines before placing the first tile. This prevents crooked rows.
Check your subfloor. 12×24 tiles need flat surfaces. Any bumps or dips will show through. Use the right trowel. A 1/4 inch square notch trowel works for most installations.
Don’t rush your cuts. Measure twice, cut once. Sloppy cuts ruin the whole project.
Common mistake one: Starting in the wrong corner. Always begin from the center of your room.
Common mistake two: Not checking for square. Your first row sets everything else. If it’s crooked, everything will be crooked.
Common mistake three: Forgetting expansion joints. Large tiles move with temperature changes. Leave room for movement.
I learned these lessons the hard way. Save yourself the frustration.
Cost & Maintenance Considerations
12×24 tiles cost more upfront than smaller tiles. But you save on installation labor. Fewer pieces means faster installation.
Pattern choice affects your bill too. Straight lay costs the least. Herringbone costs the most because of extra cutting time.
Maintenance stays simple. Sealed tiles resist stains and water damage. Weekly mopping keeps them looking new.
Grout is your weak point. I recommend sealing grout lines once a year. This prevents staining and makes cleaning easier.
Dark grout hides dirt better. Light grout makes spaces feel bigger. Choose based on your priorities.
The investment pays off. Good tile work lasts decades with minimal upkeep.
Conclusion
You have everything you need to choose the right pattern. Six proven options. Clear guidance for different spaces. Real tips from my years of installing tiles.
Walk through your space right now. Imagine each pattern we discussed. Which one feels right to you?
I always tell homeowners to trust their gut. You’ll see this floor every single day. Pick something that makes you happy when you walk in the room.
Don’t second-guess yourself like so many of my clients do. You know what looks good in your home.
Start measuring your space today. Choose your pattern. Order your tiles. Your new floor is closer than you think.
What pattern caught your eye? I’d love to hear about your project in the comments.
Frequently Asked Questions
How much extra tile should I buy for 12×24 patterns?
I always tell clients to buy 10% extra for straight lay and brick patterns. For herringbone or diagonal patterns, get 15% extra because you’ll make more cuts.
Can I use 12×24 tiles in a small bathroom?
Yes, large tiles actually make small spaces look bigger by reducing grout lines. I’ve used them in bathrooms as small as 40 square feet with great results.
What’s the hardest 12×24 pattern to install yourself?
Herringbone requires the most skill because of all the 45-degree cuts. If you’re new to tiling, start with straight lay or brick pattern instead.
Do I need special tools for 12×24 tiles?
You’ll need a tile cutter that handles 24-inch lengths. A wet saw works best for clean cuts without chips or cracks.
Which grout color works best with 12×24 tiles?
Match your grout to the tile color for a seamless look that makes rooms feel larger. Use contrasting grout only when you want to highlight the pattern.

